Tomato —Obsessive Love Disorder (OLD)

Mushroom Basket Tomato

Obsessive love disorder completely describes my relationship with this tomato! Ironically, the acronym for it is OLD! If being old means that it is ok for us to obsess about tomatoes — I am ok with that! I am really not that old but it feels like it sometimes —- But it feels good if you know what I mean.

I attempted to grow this tomato for the first time last year! What a flop! I planted somewhere in the neighborhood of 120 tomato plants and 10 of them were mushroom baskets! I got one stinking mushroom basket tomato! ONE !!!! Oh…… but it was glorious and delicious!

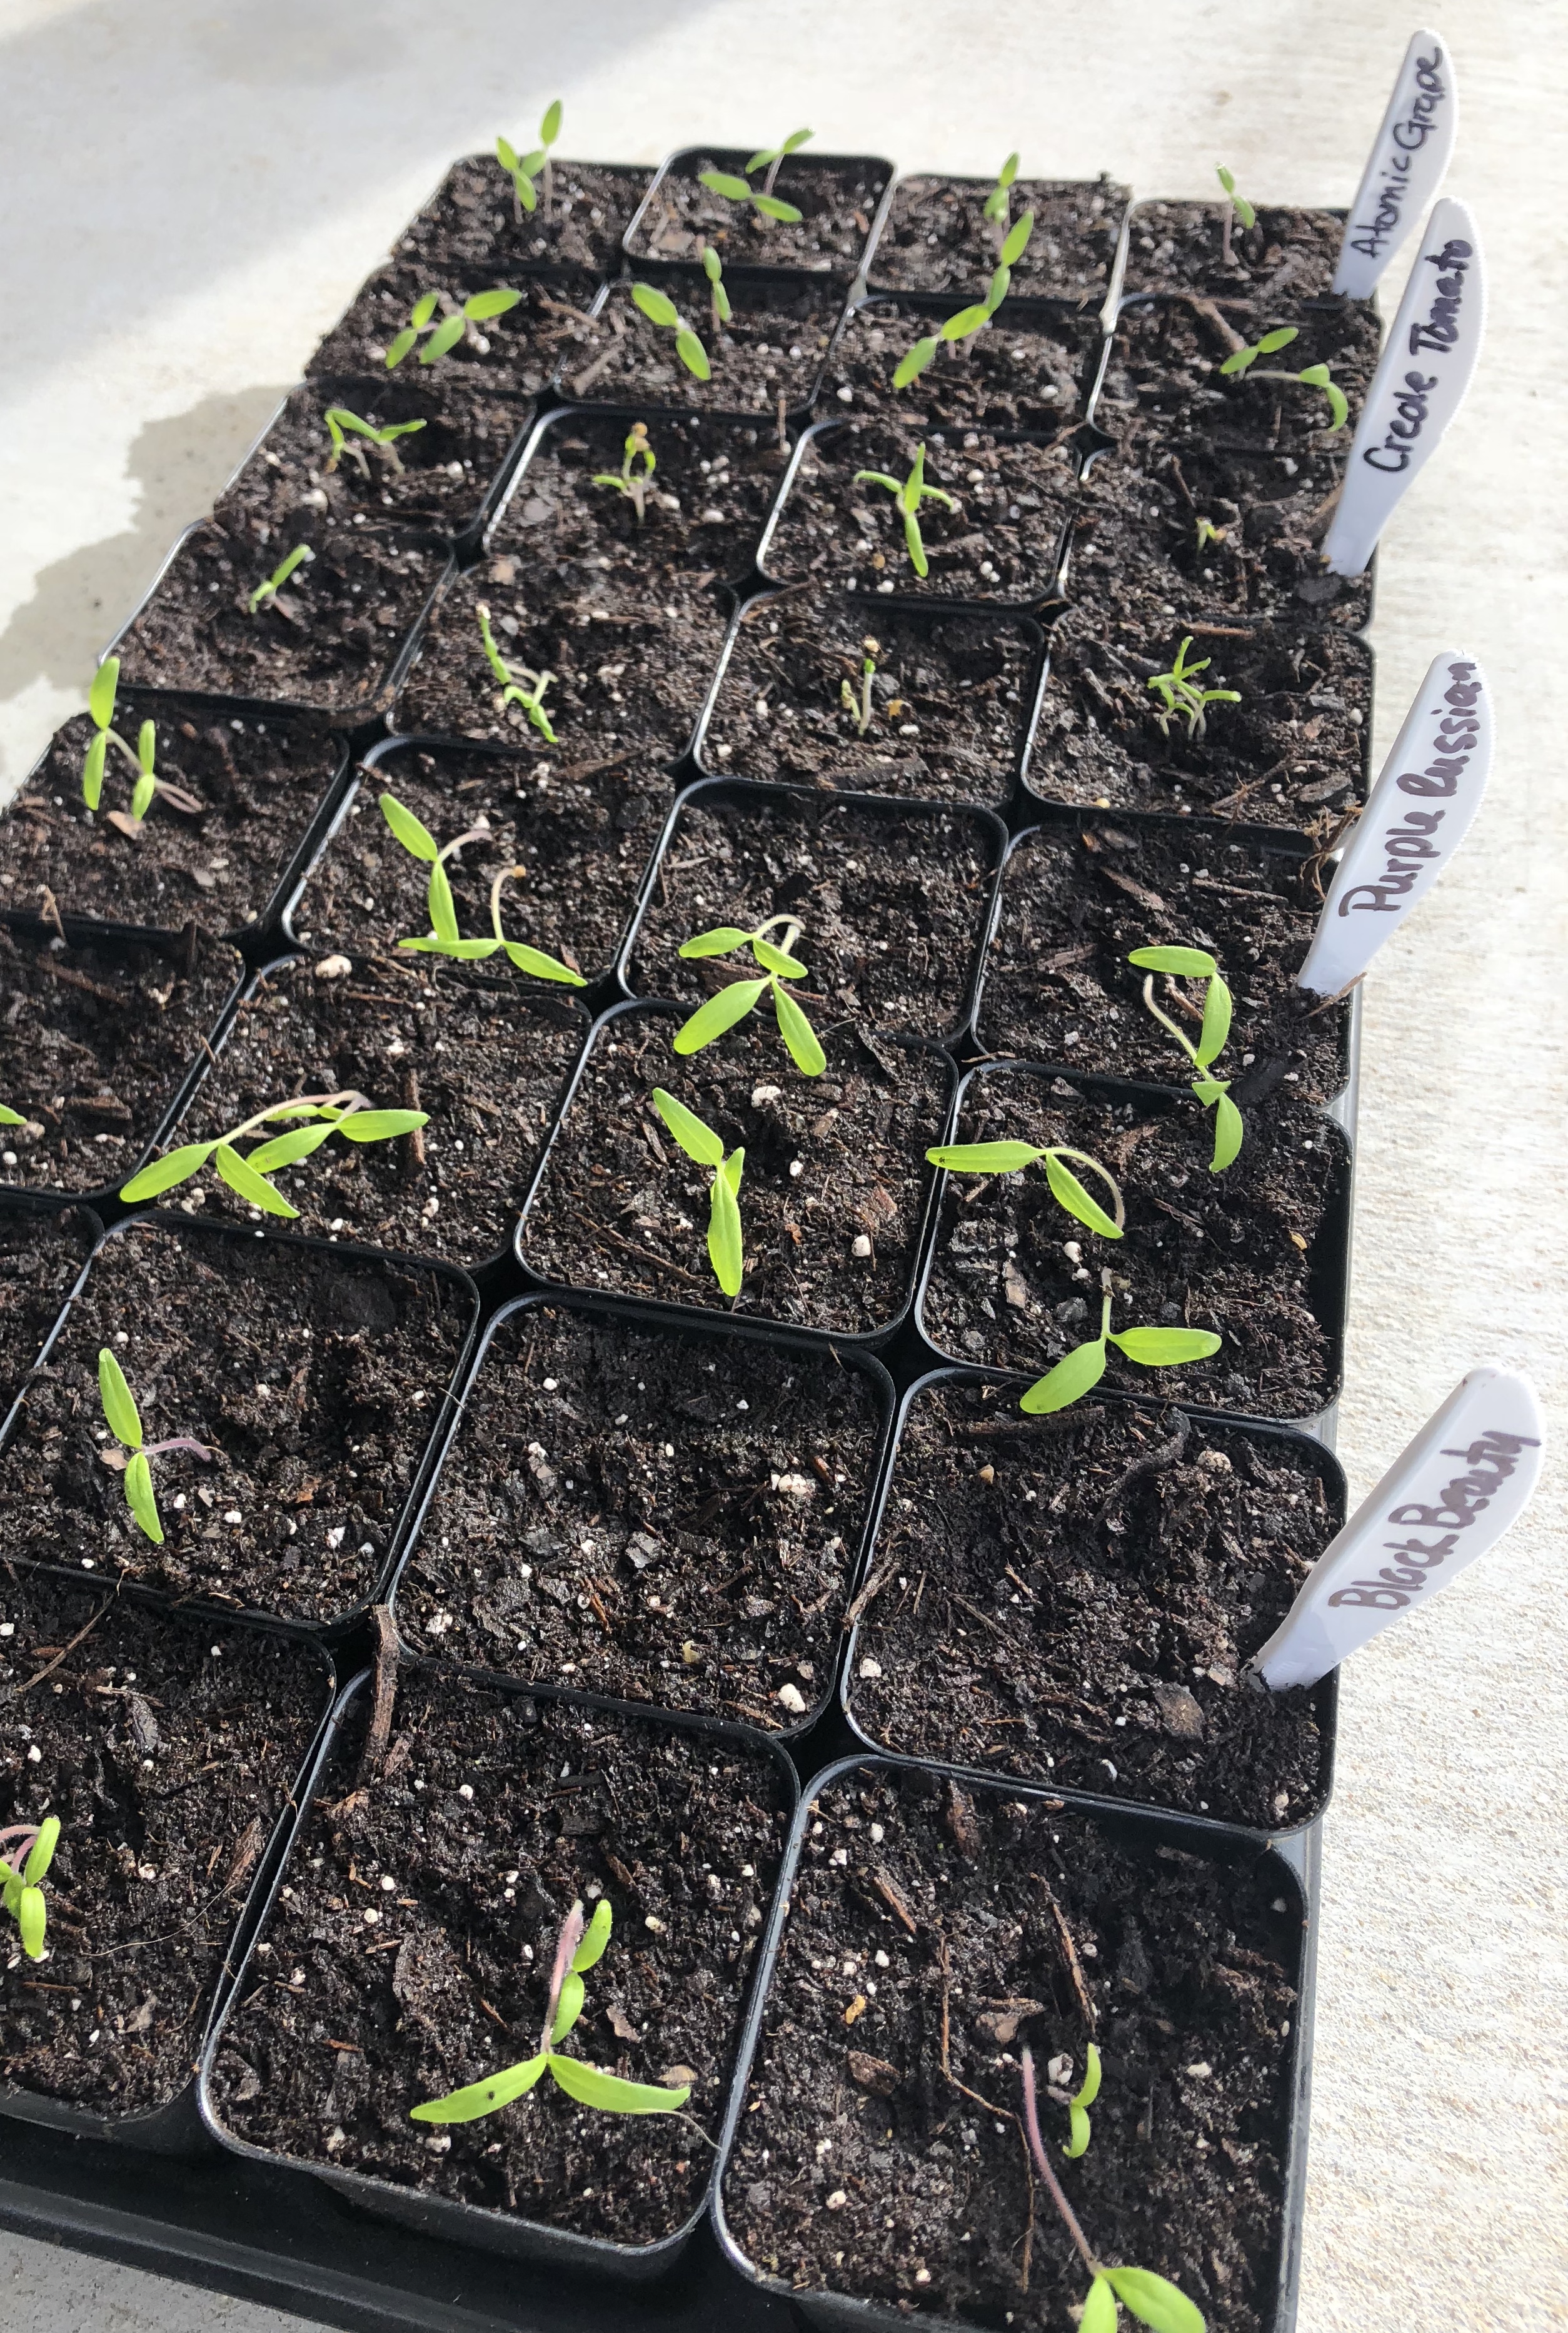
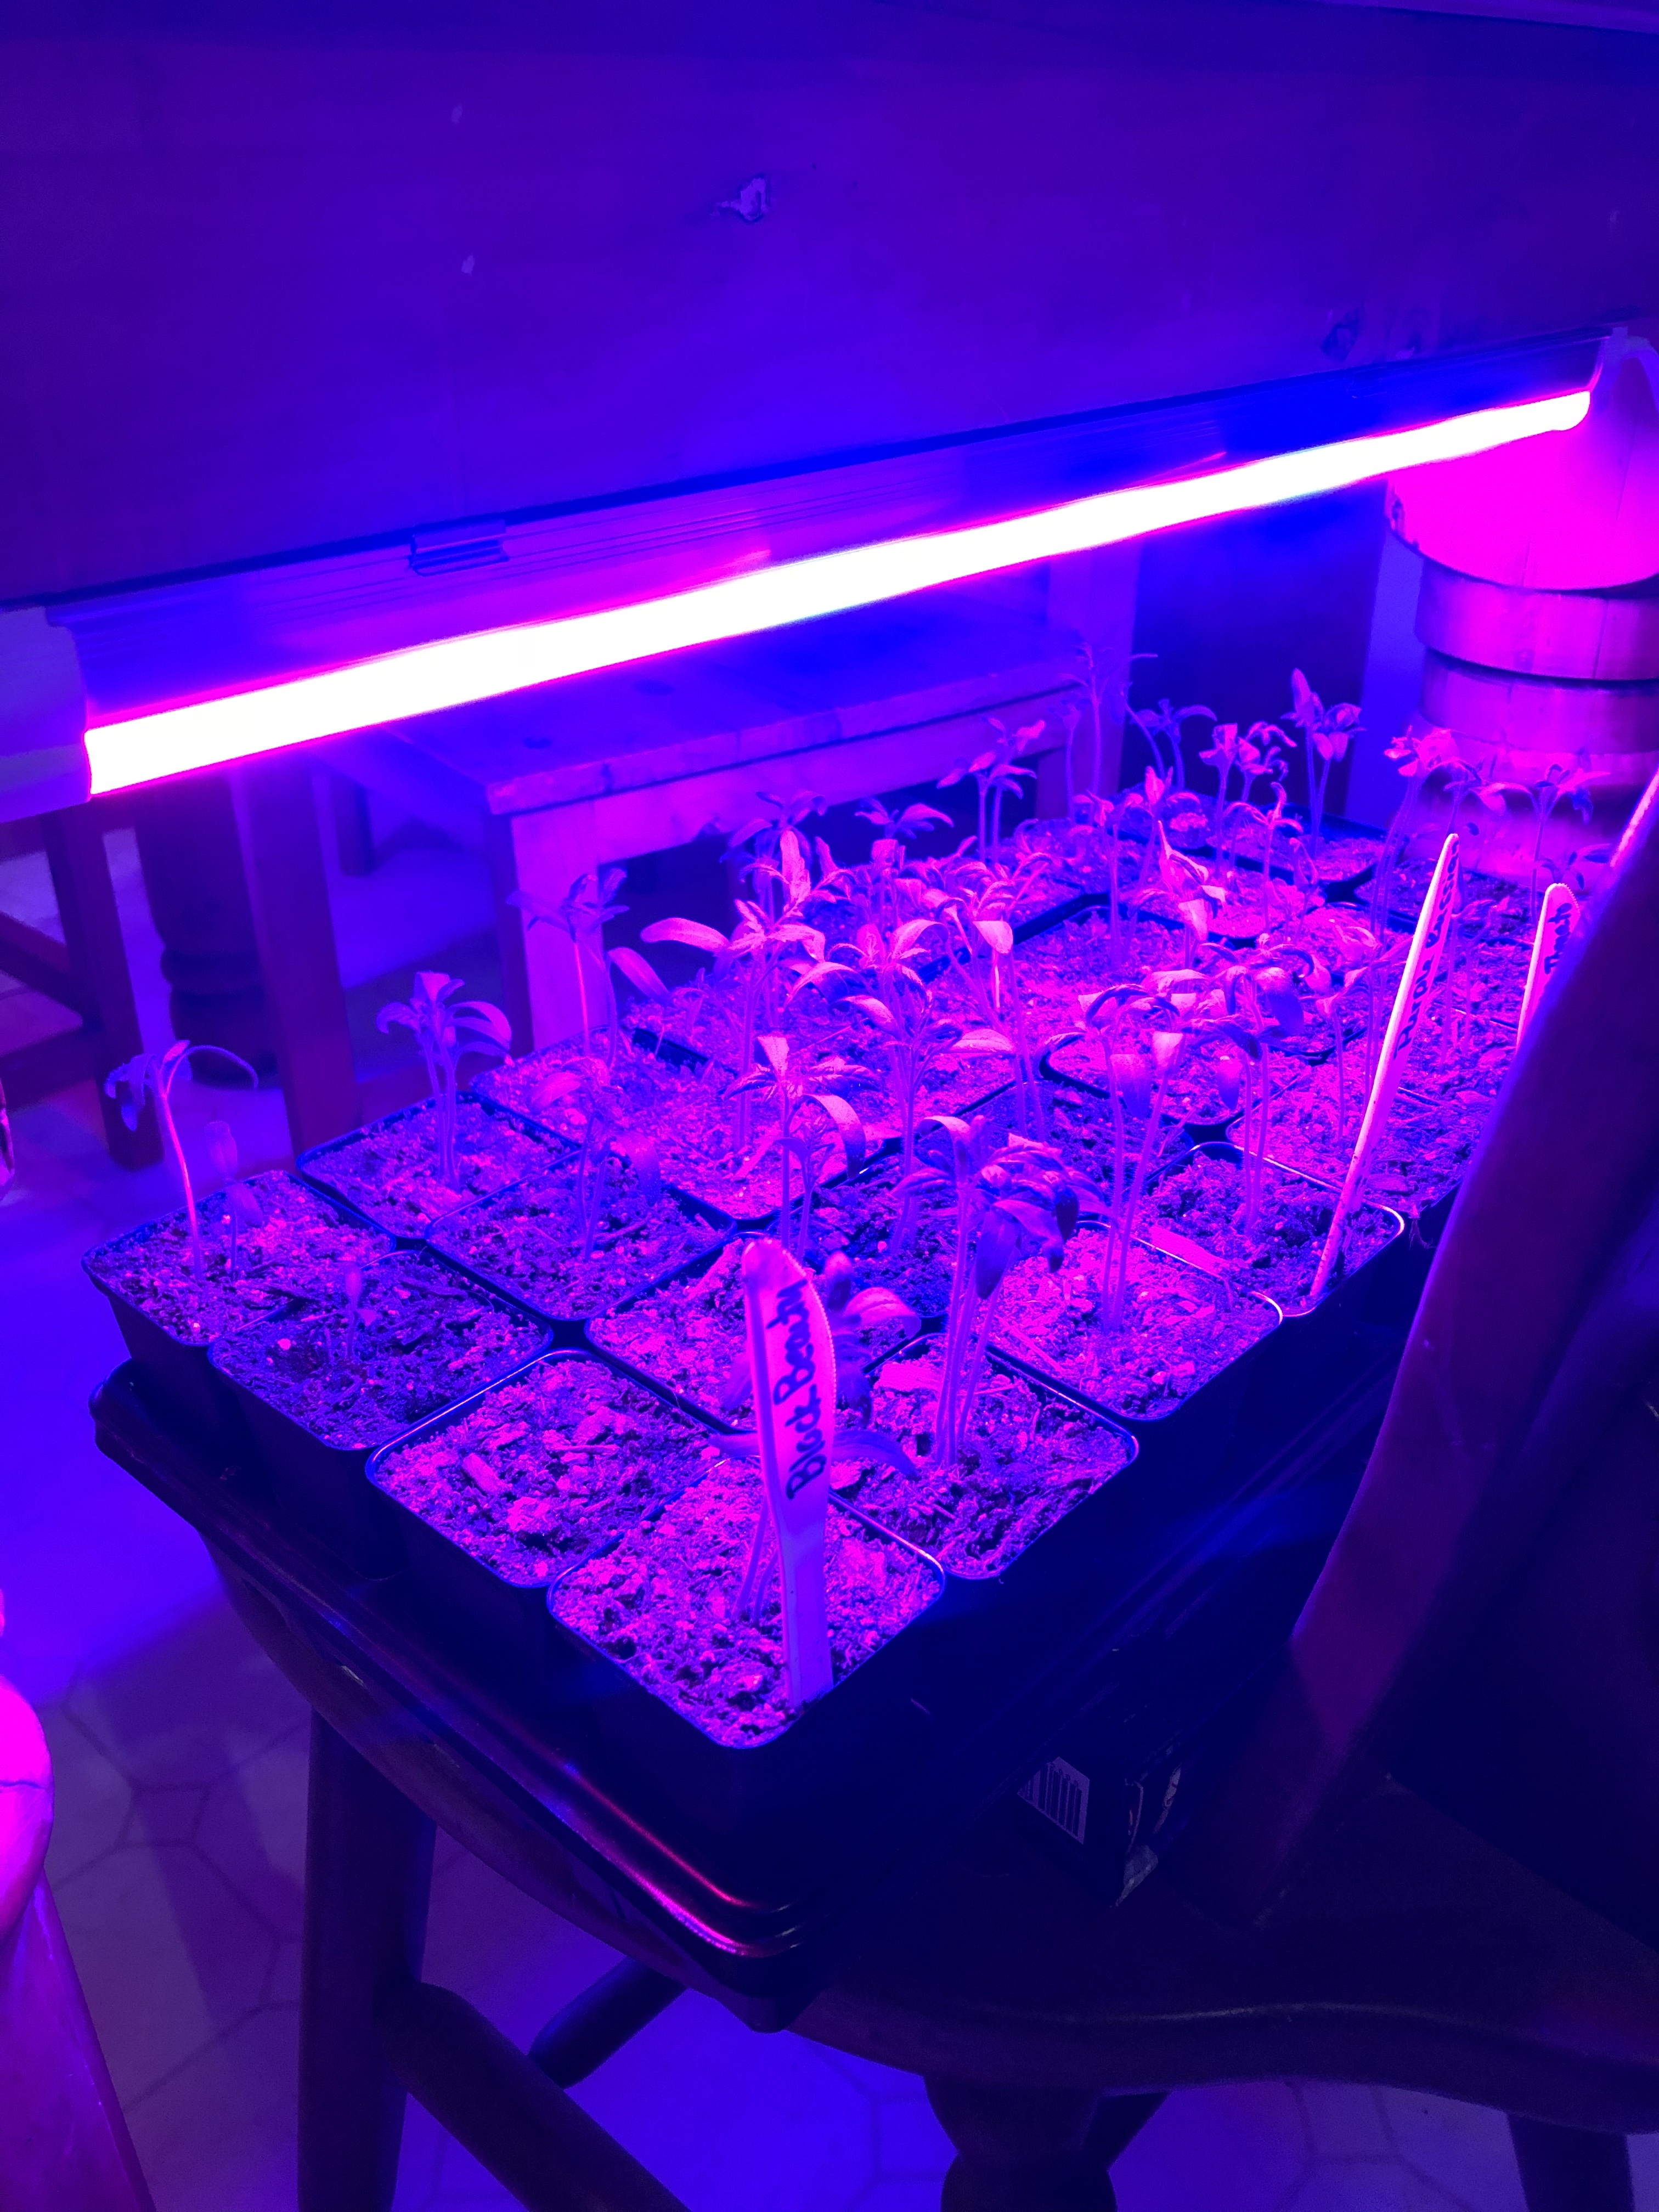
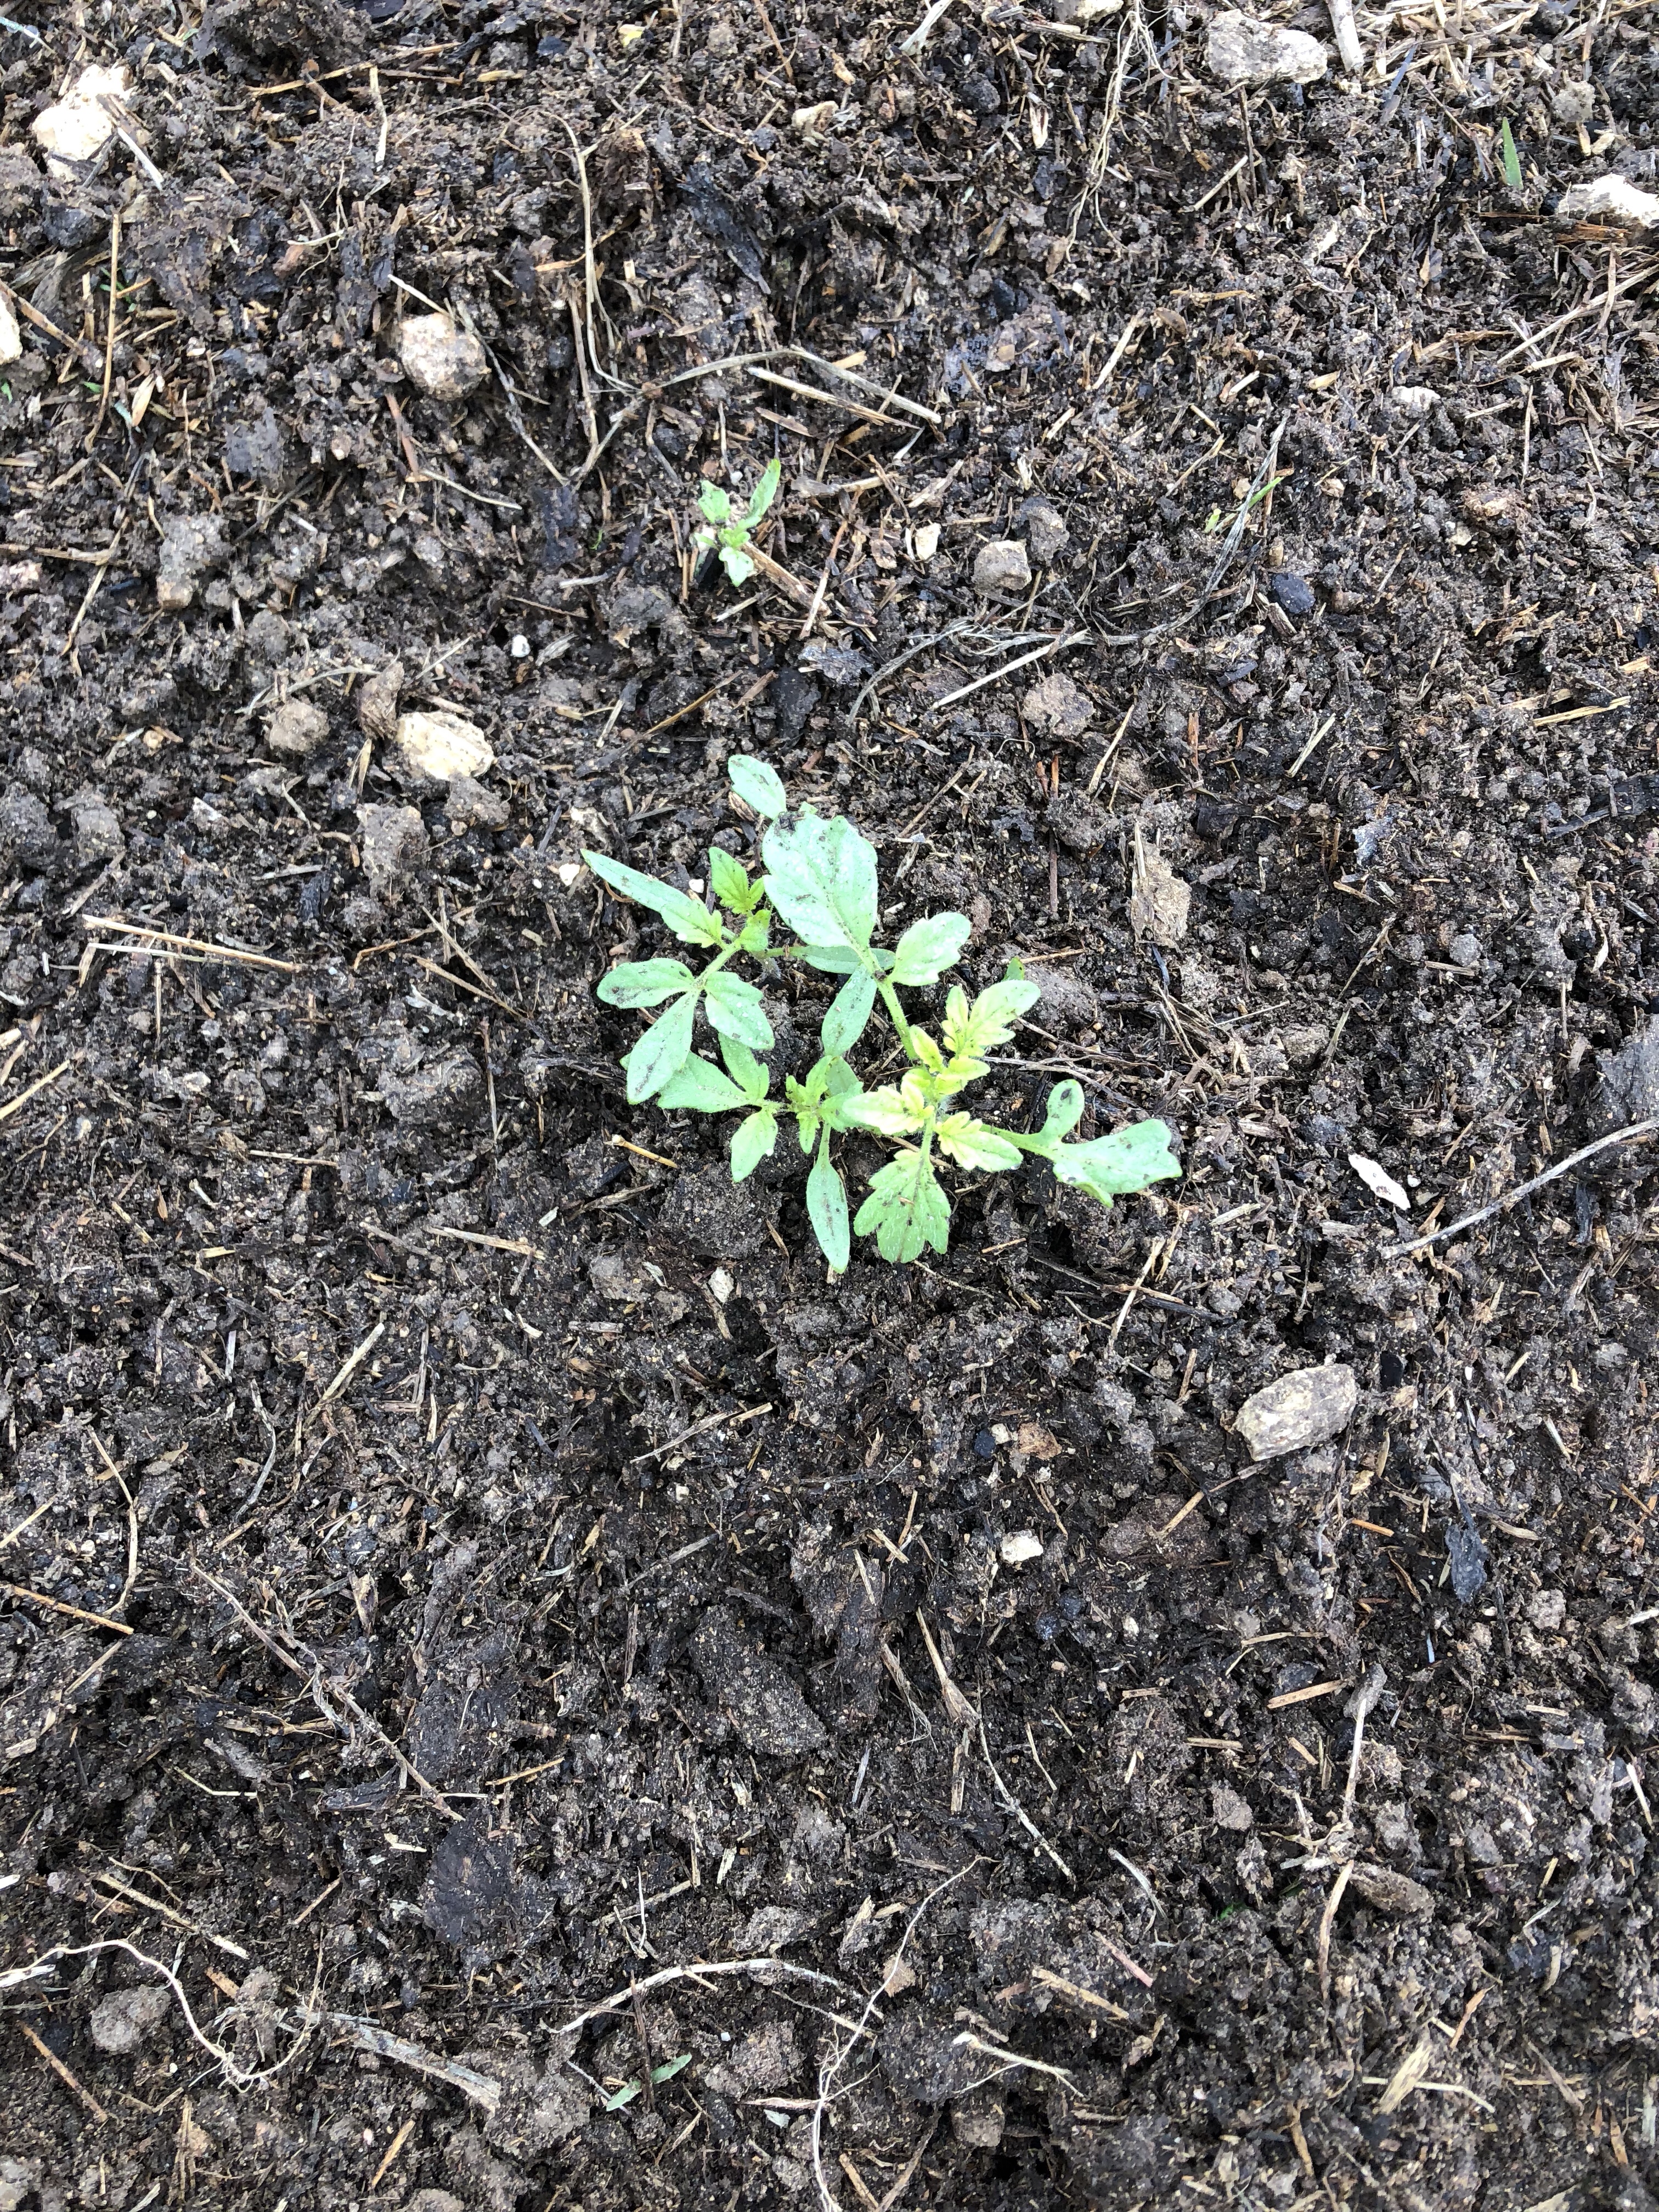
This year has been much better! Although, I can’t say I did anything that much different! I actually was very laissez faire about tomatoes this year. I did decide to do less plants and I fertilized the ground with more horse manure through winter but I always to that.

Oh but when those plants started to take off my excitement built up and the obsession started back. I dream about tomato plants! My husband and I still work out of town and so there are times when we are away from the garden for 2-4 days at a time. I always check the garden before I leave and immediately upon return. This last trip was no different.

I have been watching this giant tomato for over a week waiting for it to show signs of ripening. Everyday ….. nope still green….. nope still green….. not even a blush of color! Finally the day arrives (I mean I didn’t know it arrived but I was hopeful).

We were driving home together this time and it was late because we had both worked a 12 hour shift that day. It is nearly 11pm when we hit the county road. I am so excited to see my tomatoes. I know they miss me too! The county road is 3 miles of dirt road — which doesn’t seem to slow my husband down at all ever! I didn’t really care in this case because I was ready to get there too so I let him drive too fast this time without saying “what’s the speed limit on this road” while I look at his speedometer. We are barreling down the road with dust flying and I am in my mind taking a mental inventory of what all I need to check in the garden. Ah finally, the mailbox and driveway! We are almost there! NOPE— got to check the mail—— !! I really don’t understand why we have to check the mail EVERY-TIME we leave and return (insert sarcasm)! Ok ok get the mail! Go !! Off to the garden!!

Ok we are here! The truck is in park. I swing my door open and hop out ready to make a beeline for the garden but as I turn to shut the door I see my husband loading up his arms with stuff out of the truck! I guess I better help unload the truck! I begrudgingly made several trips inside to help unload the truck and finally it gets unloaded! On my last load inside, I see him unpacking the cooler. WHAT? Can I just go to the garden already! Of course, I have to help unpack the perishables —- but that’s all I am doing! I say to myself!

At long last, I am making my way down to the garden in the dark. No flashlight needed I know this path like the back of my hand! My sweet husband goes on to start checking on the animals and fill up feeders. The cats also know when he is there he feeds them special canned food so they encircle him and he can’t go anywhere.

I am in the garden and I can hear all the sounds of the night. The crickets are chirping and frogs are croaking. There is a slow soft breeze you can hear through the tall weeds of the garden —(that I haven’t had time to pick). I can hear the wind chimes softly playing music. It really is like magic to me! I take a quick moment to appreciate the night in the garden. But only a quick moment because I am on a mission.

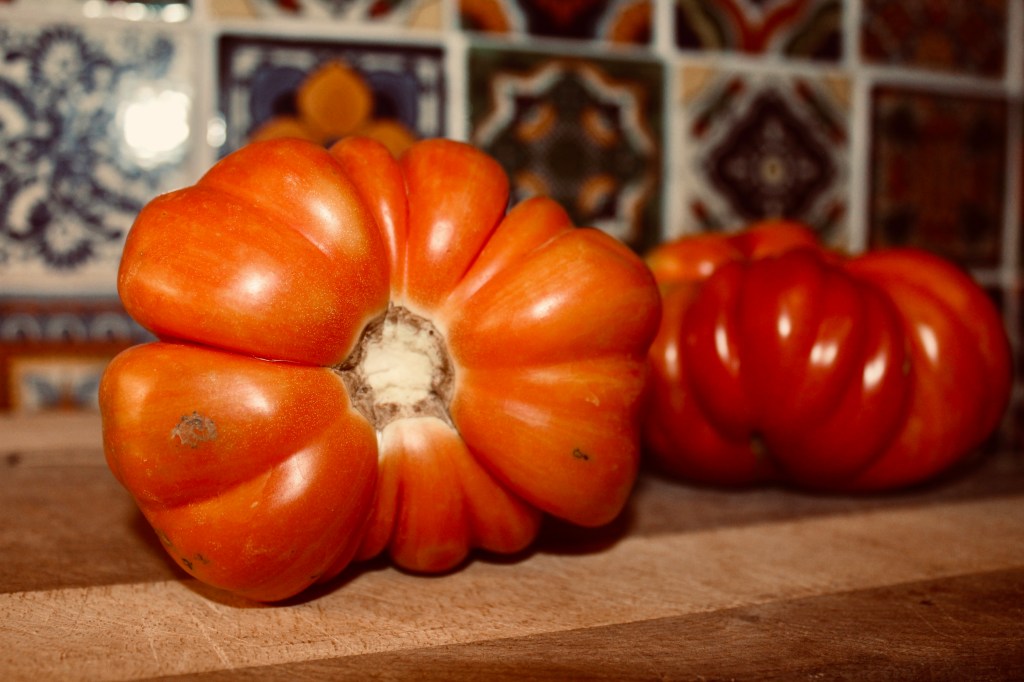
I know right where the tomato I want is located. It is on the 6th row from the front and the last plant on that row! I make my way to the row and down the isle to the end. I can see the plant still looks really good but it is hard to tell in the dark and under the foliage of this 4 ft plant if the tomato has turned yet. I pull out my cell phone light and flash the tomato! GASP! Cue the angels signing! There she is in all her beauty …. the most beautiful luscious tomato ever! I don’t want to pick it because she is so perfect on the vine! Wow! I grew that! I do eventually pick it and hold it in my hand like I just picked a bar of gold off that bush. I realize there is another one ripe and another one ripe and another before I know it I have my shirt held up to make a basket and it is full of tomatoes!

Bryon startles me “Chasity, what are you doing?” Well, I am picking tomatoes of course at midnight, I think! Seemed obvious to me. Doesn’t everyone do that? In rattlesnake country no less. It was worth it. She tasted as good as she looked!

A true “slicer”

She weighed in at just under a pound!

Big Girl

Tomato Fail – Curly Top Virus!

The garden was hit hard this year by Curly Top Virus. This was my first experience with curly top virus so I did a fair amount of research on the virus.

The virus affects mainly tomatoes, peppers and sugar beets. I had extensive damage to my tomato crop. Minimal damage to pepper plants and I had no damage to sugar beets. I planted beets that were sweet but I am not sure they are technically “sugar beets”.

I had high hopes for my tomato crop this year. I planted 120 heirloom plants from seeds. I planted 12 different varieties with approximately 10 different plants each.

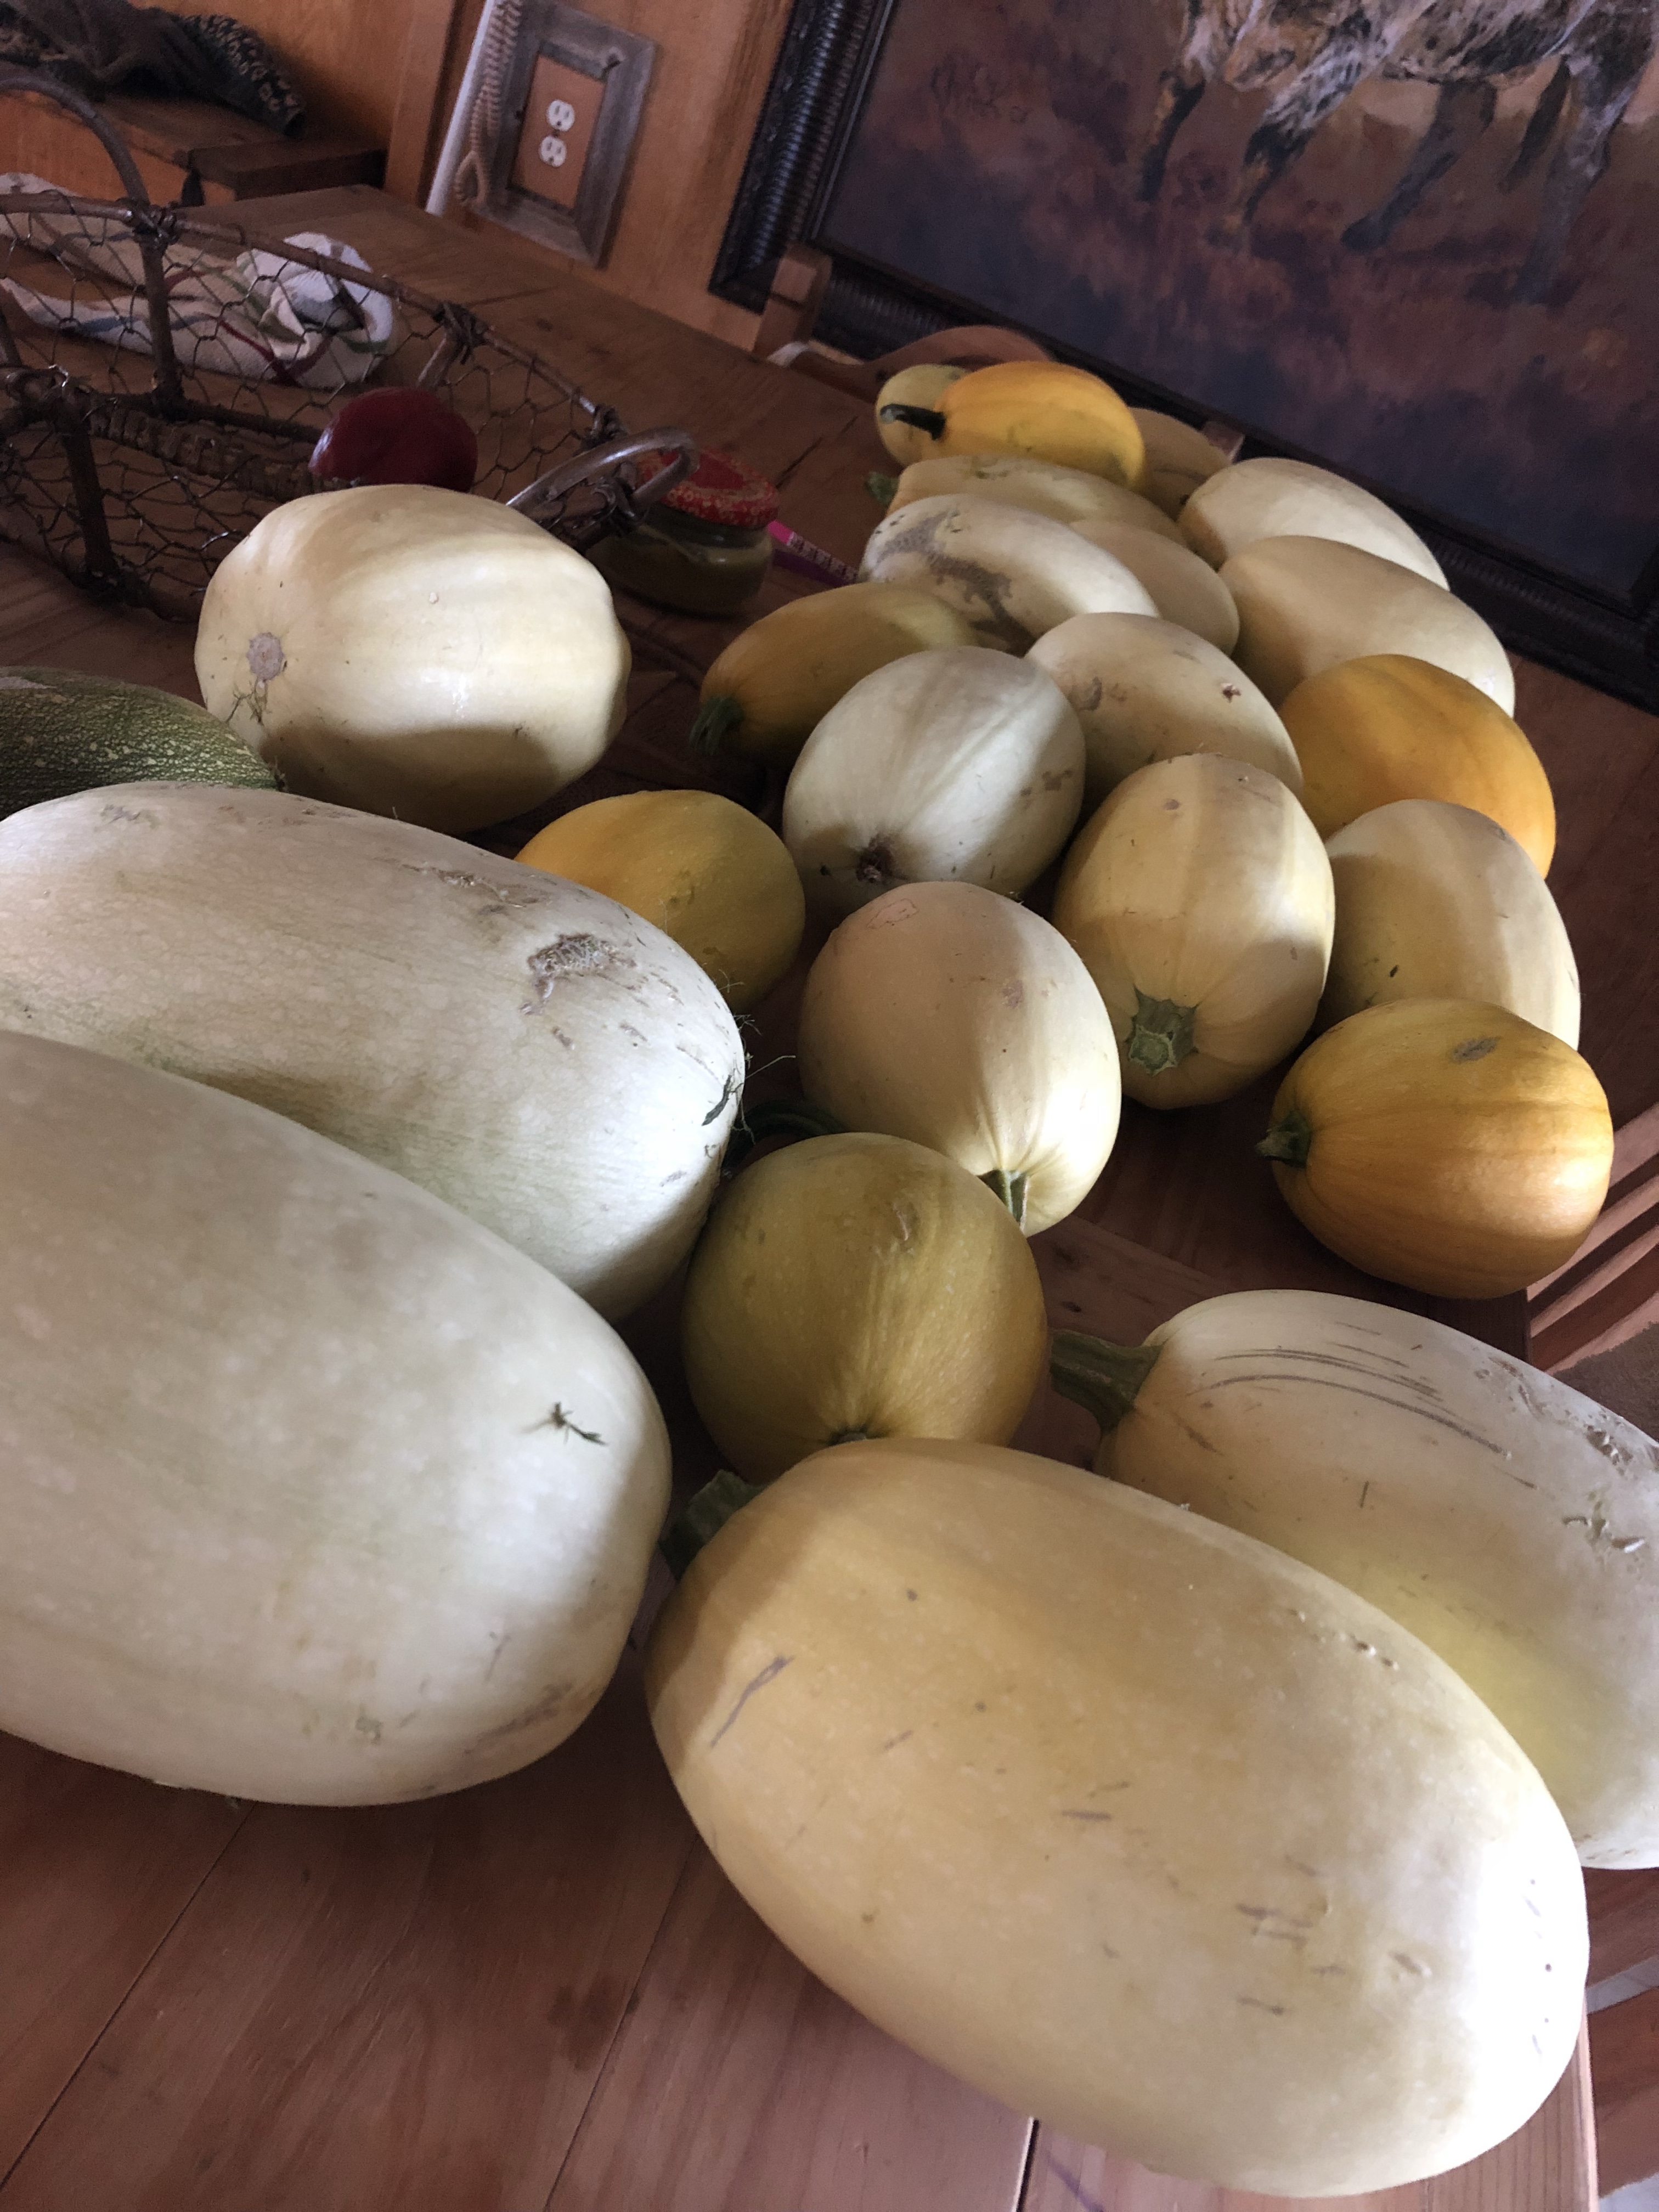
 I had big dreams of fresh tomatoes all summer and canning tons of stewed tomatoes that would last me all winter. Mother Nature had something else in mind. Instead of tomatoes all winter we will be having tons of pickles…… and spaghetti squash.

I guess I can’t complain too much. We won’t go hungry I guess! Anyway back to the problem at hand. I didn’t get the tomato crop I wanted either in the spring or the fall thanks to a little virus called Curly Top.

The virus is transmitted by the sugar beet leafhopper (Curculifer tennelus). It is a tiny little grasshopper that kind of resembles a fly. I have seen several in the garden. It is an invasive species in Texas.

http://www.tsusinvasives.org/home/database/neoaliturus-tenellus

Unfortunately, insecticides are not effective. (I mean- not that I would use any insecticides! SQUIRREL! Let’s be realistic. We all try not to use insecticides! We start by using the least toxic method of killing insect like picking them off and killing them manually. Then, we move to organic insecticides like diatomaceous earth or any other commercially available organic insecticide, fungicide, any kind of -cide we can find.

Then as our plants keep dying we bring out the ……. ((whisper)) seven dust! Yup, you heard me! I’ll dust the shit out of those little insects if they push me too far! I HATE GRASSHOPPERS OF ALL KINDS BY THE WAY!~

Now, back to the problem. Since insecticides don’t work what are my other options?

https://plantdiseasehandbook.tamu.edu/problems-treatments/problems-affecting-multiple-crops/curly-top-virus/

Fine mesh….. NOPE ….. blew right off in this hurricane strength wind of Central Texas once all the cedar has been cleared off the land. See, I think that is the original problem. We have been clearing cedar to improve our grasslands which has left big open grassy / weed fields surrounding my garden which grasshoppers (leafhoppers too apparently) love!

There are resistant tomato varieties per TAMU which include: Roza, Rowpac, Columbia and Saladmaster. The problem they haven’t really been celebrated for the taste! But, I would definitely try them at least for making stew tomatoes at this point!

I reached out to Dr. Harold Kaufman listed in the article link above. He is now retired but did suggest the same varieties above but clarified the Saladmaster needed to be the cherry type. He didn’t think anyone was still doing research on curly top. He did say some people did suggests partial shade. See leafhoppers have to feed in full sun so partial shade might keep them from feeding on the plants in the shade. The problem is tomatoes need full sun. However, I don’t think people realize Central Texas has EXTRA FULL sun most of the summer. I might try a shade block of 50% this next year and see if that helps.

Insects are cyclic so I was hoping maybe the fall would be better for the tomatoes…. NOPE! They were still there…..

It starts with a slight curling of the leaves and small bumps on the main stem. The leaves become leathery and tough. There is also a gummy type feeling to the foliage. The fruit that is there will ripen but it is slow and when it does ripen the skin is tough.

Turns out the leafhopper has three morphs including: a summer morph (3-4 months), winter morph (overwintering females) and migratory morph (capable of flying hundreds of miles). So they were still lingering around in the fall.

I did get a few little measly tomatoes to put up this year despite my new arch nemesis!

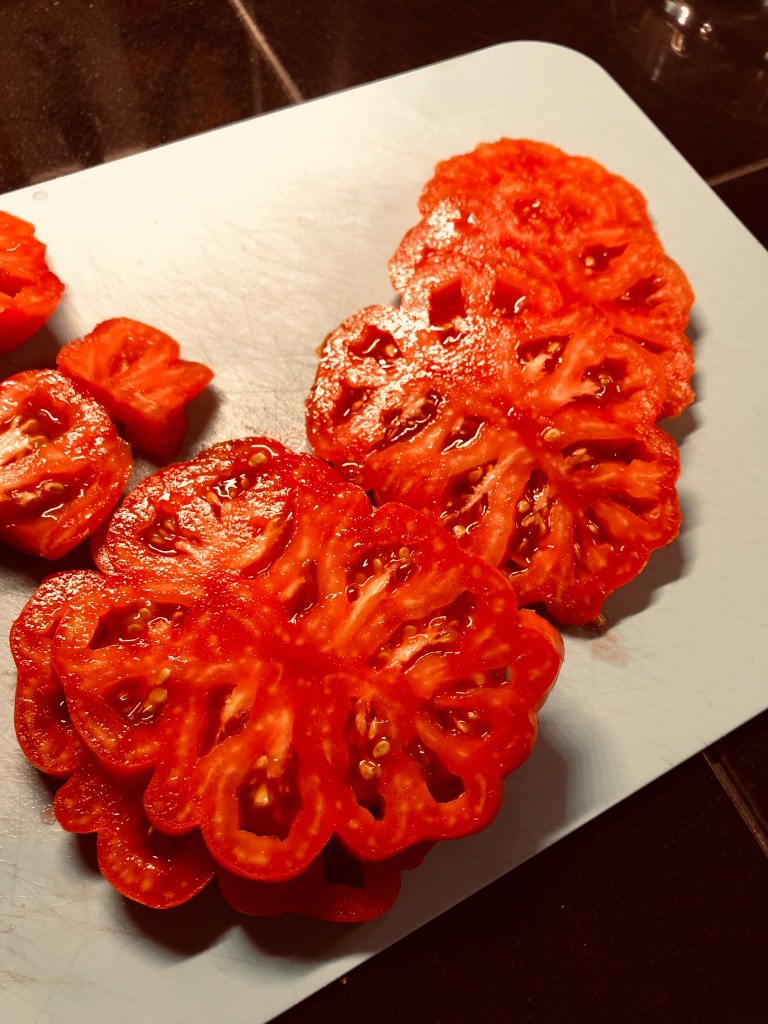
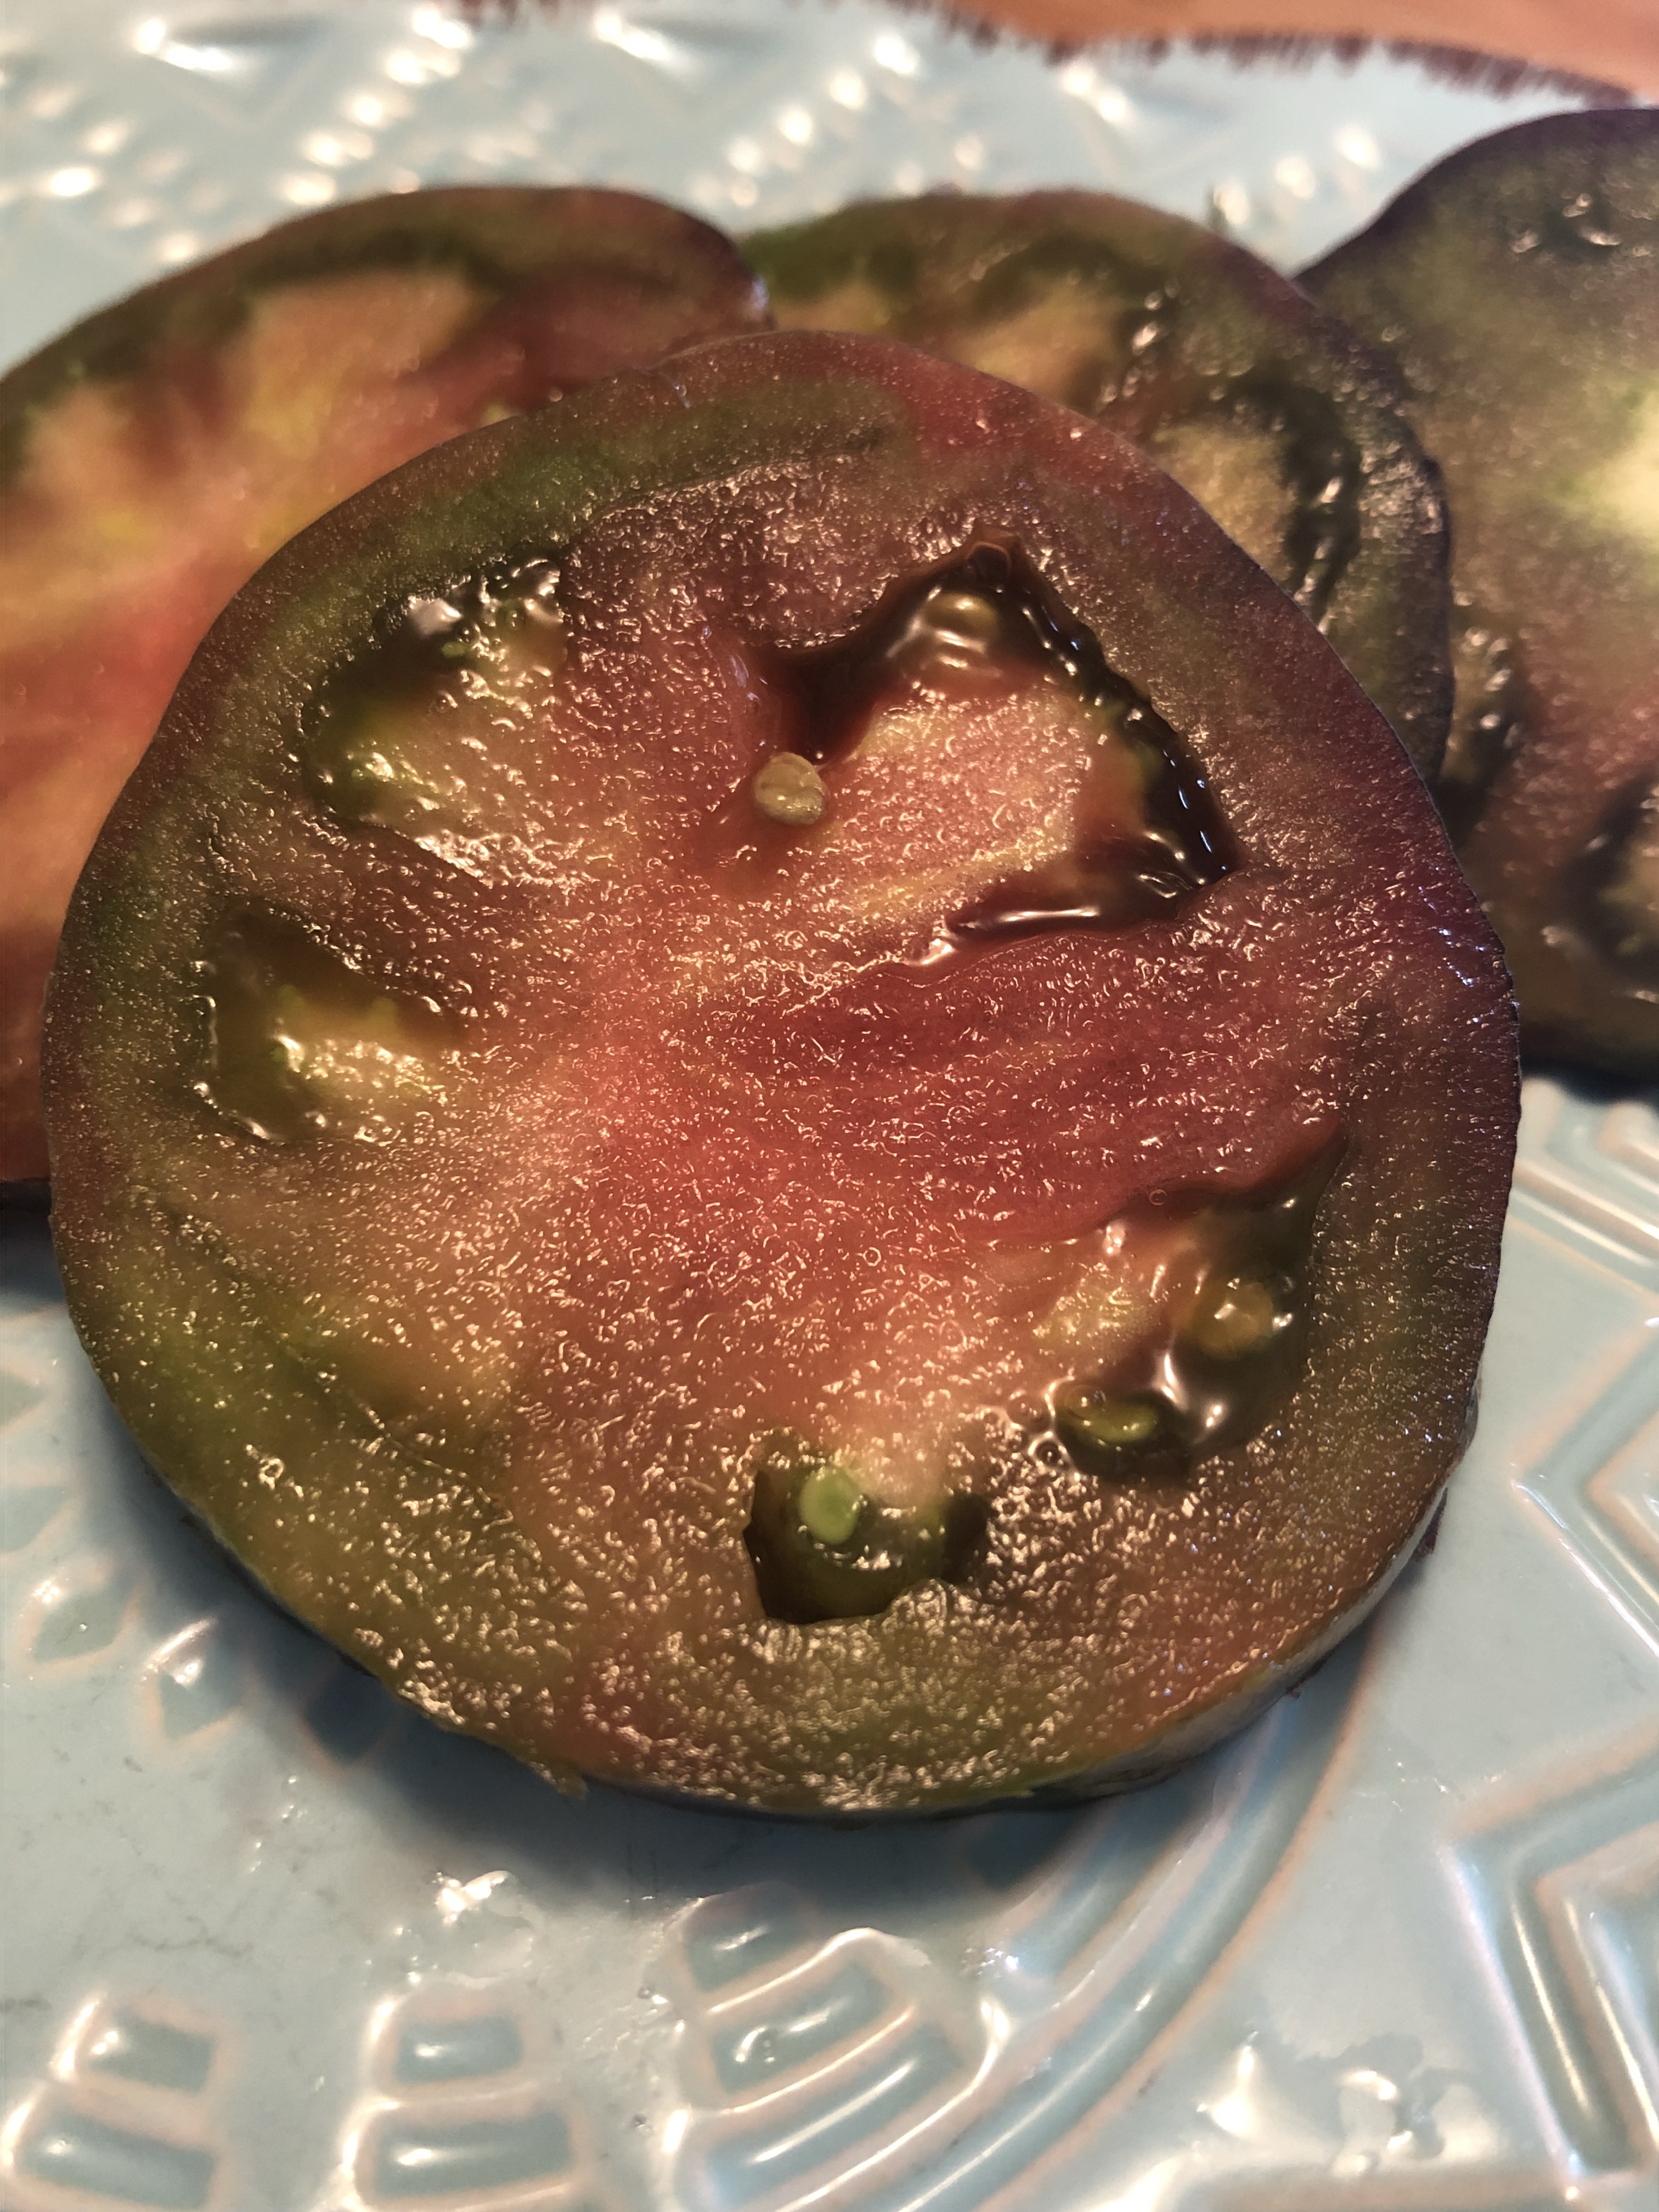
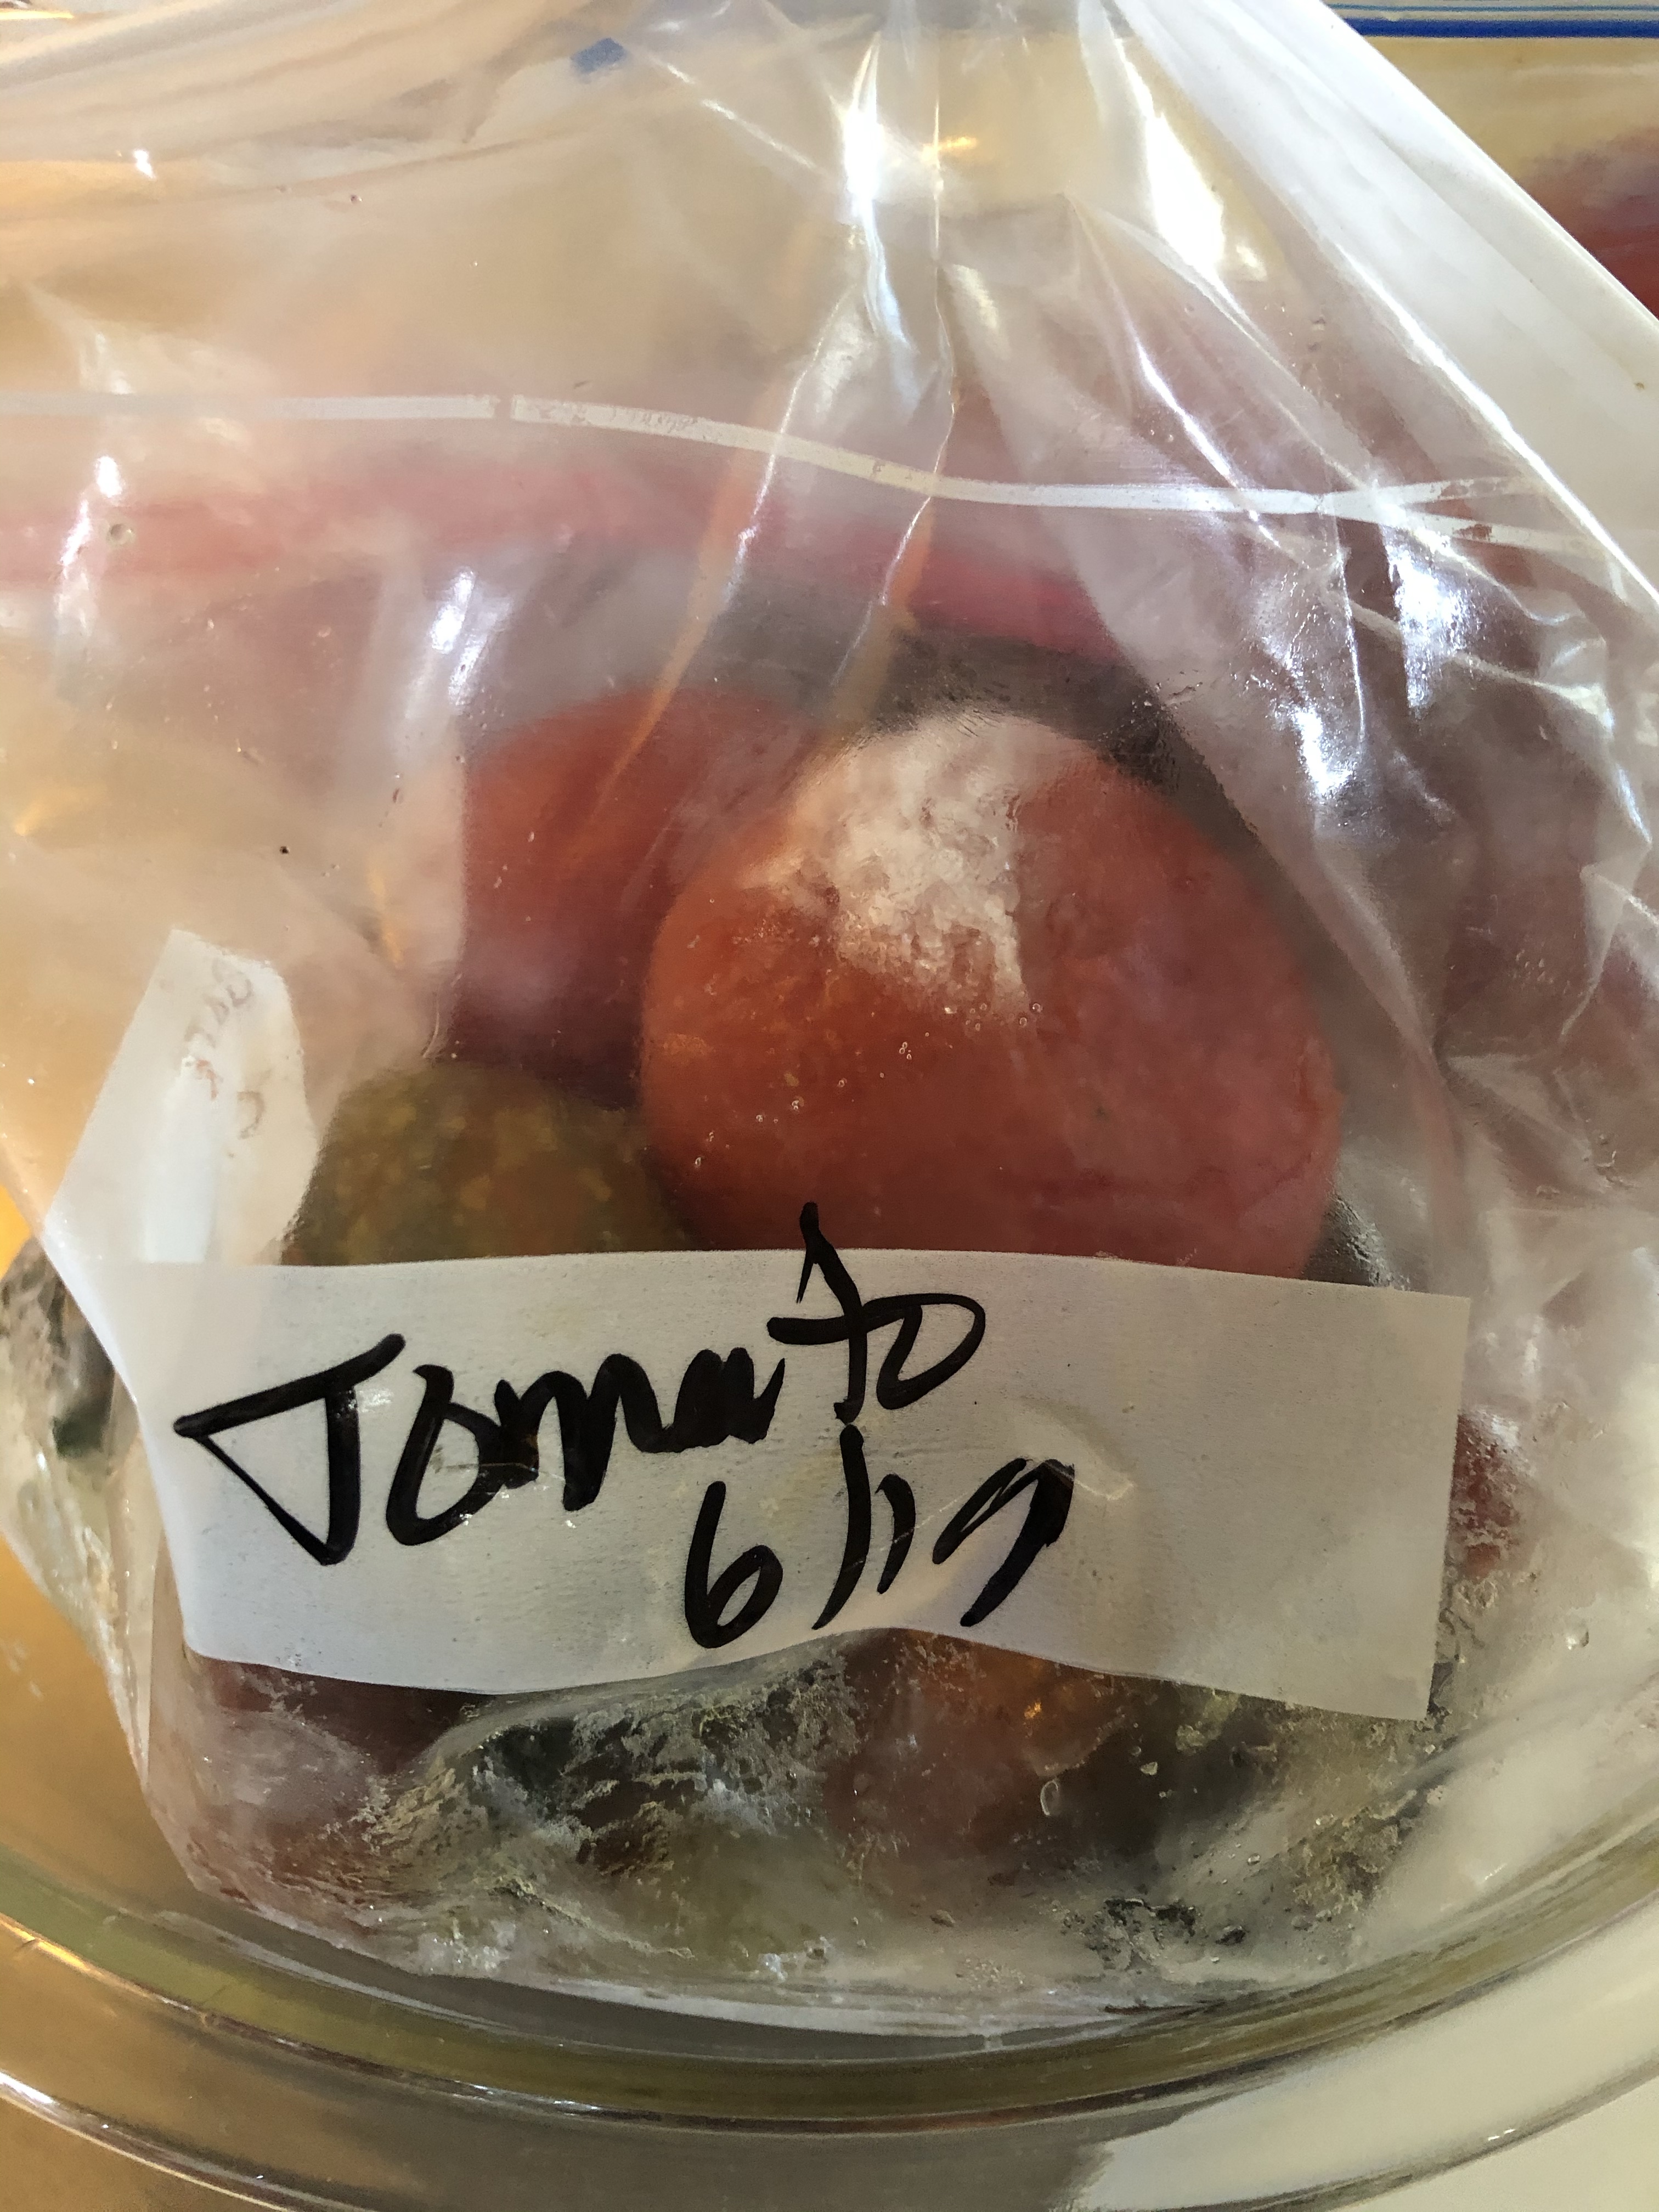
I froze them initially, then we cooked them down and made some stew tomatoes. We only produced about 4 pint jars this year. I did also get this beautiful black beauty tomato. There was only one and it looked and tasted amazing!

I also got a few more tomatoes here and there but not nearly the crop I was hoping for.

Look at the leaves on the bottom left corner of the above picture. They are starting to curl. Grrr…. Nothing was more frustrating than seeing that this year! The tomato below is called a mushroom basket. I can’t tell if it was just a fused blossom or if it was infected with something? Either way, I had to pick it before the frost!

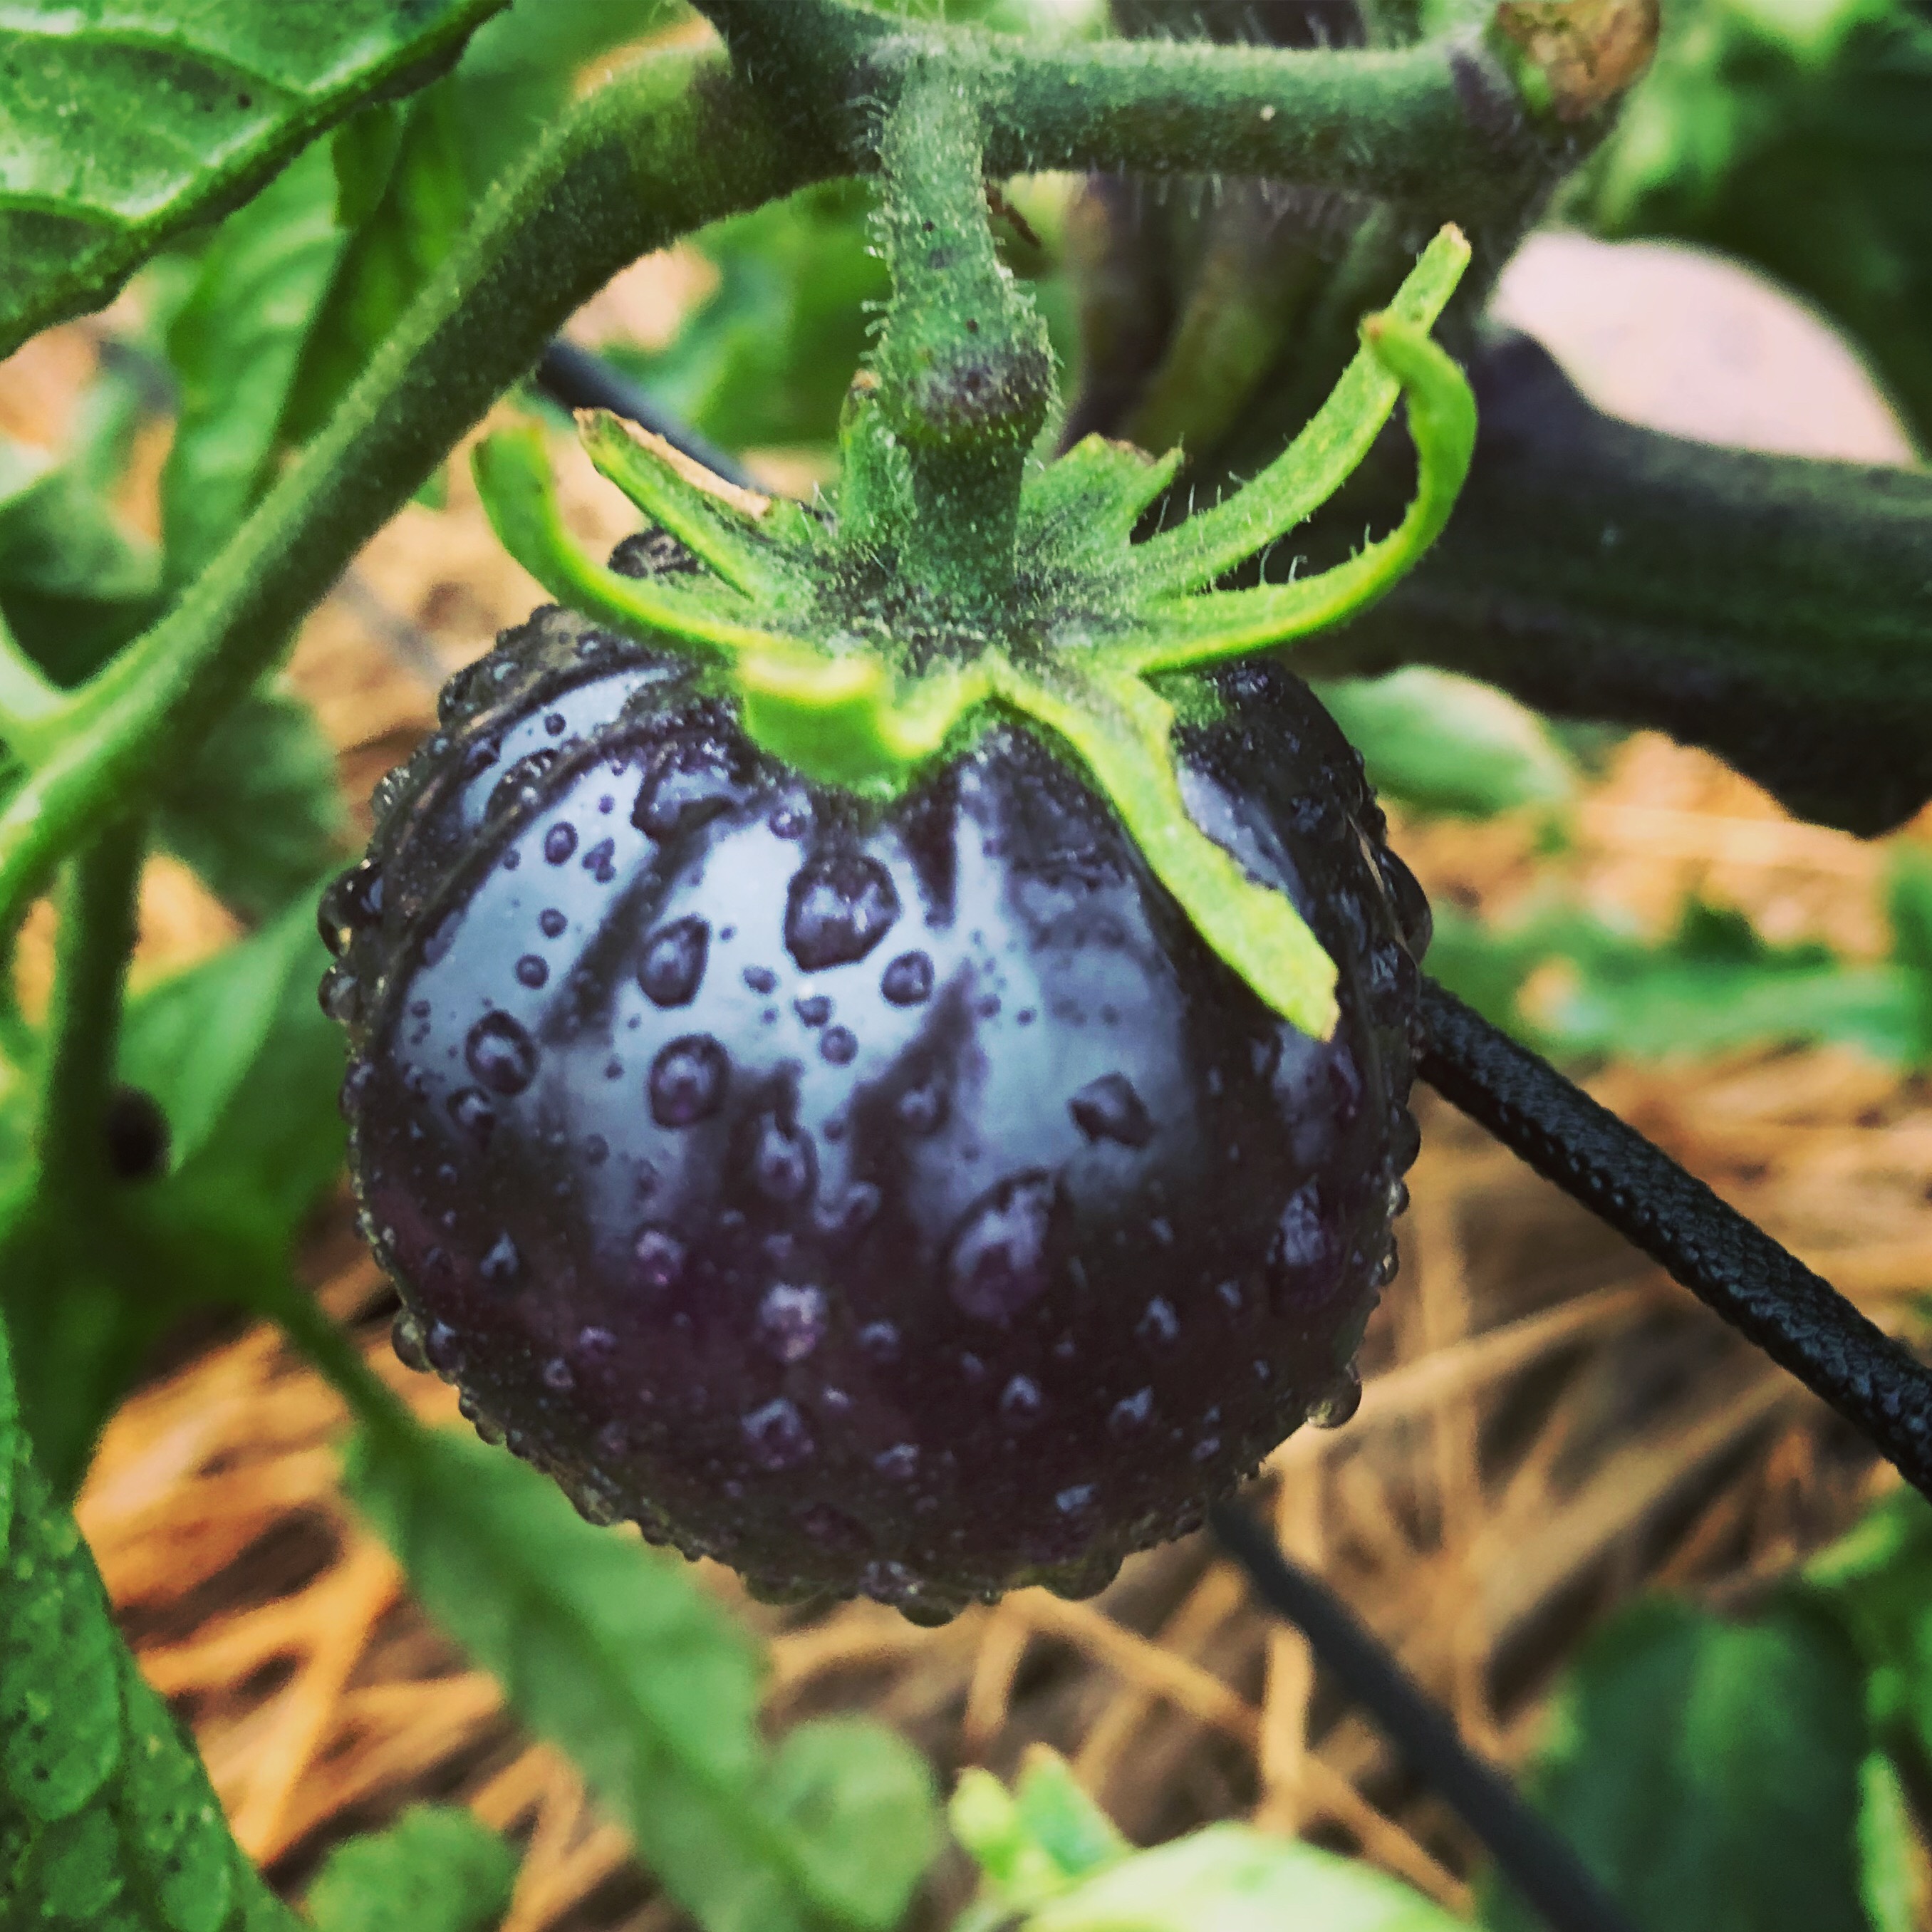
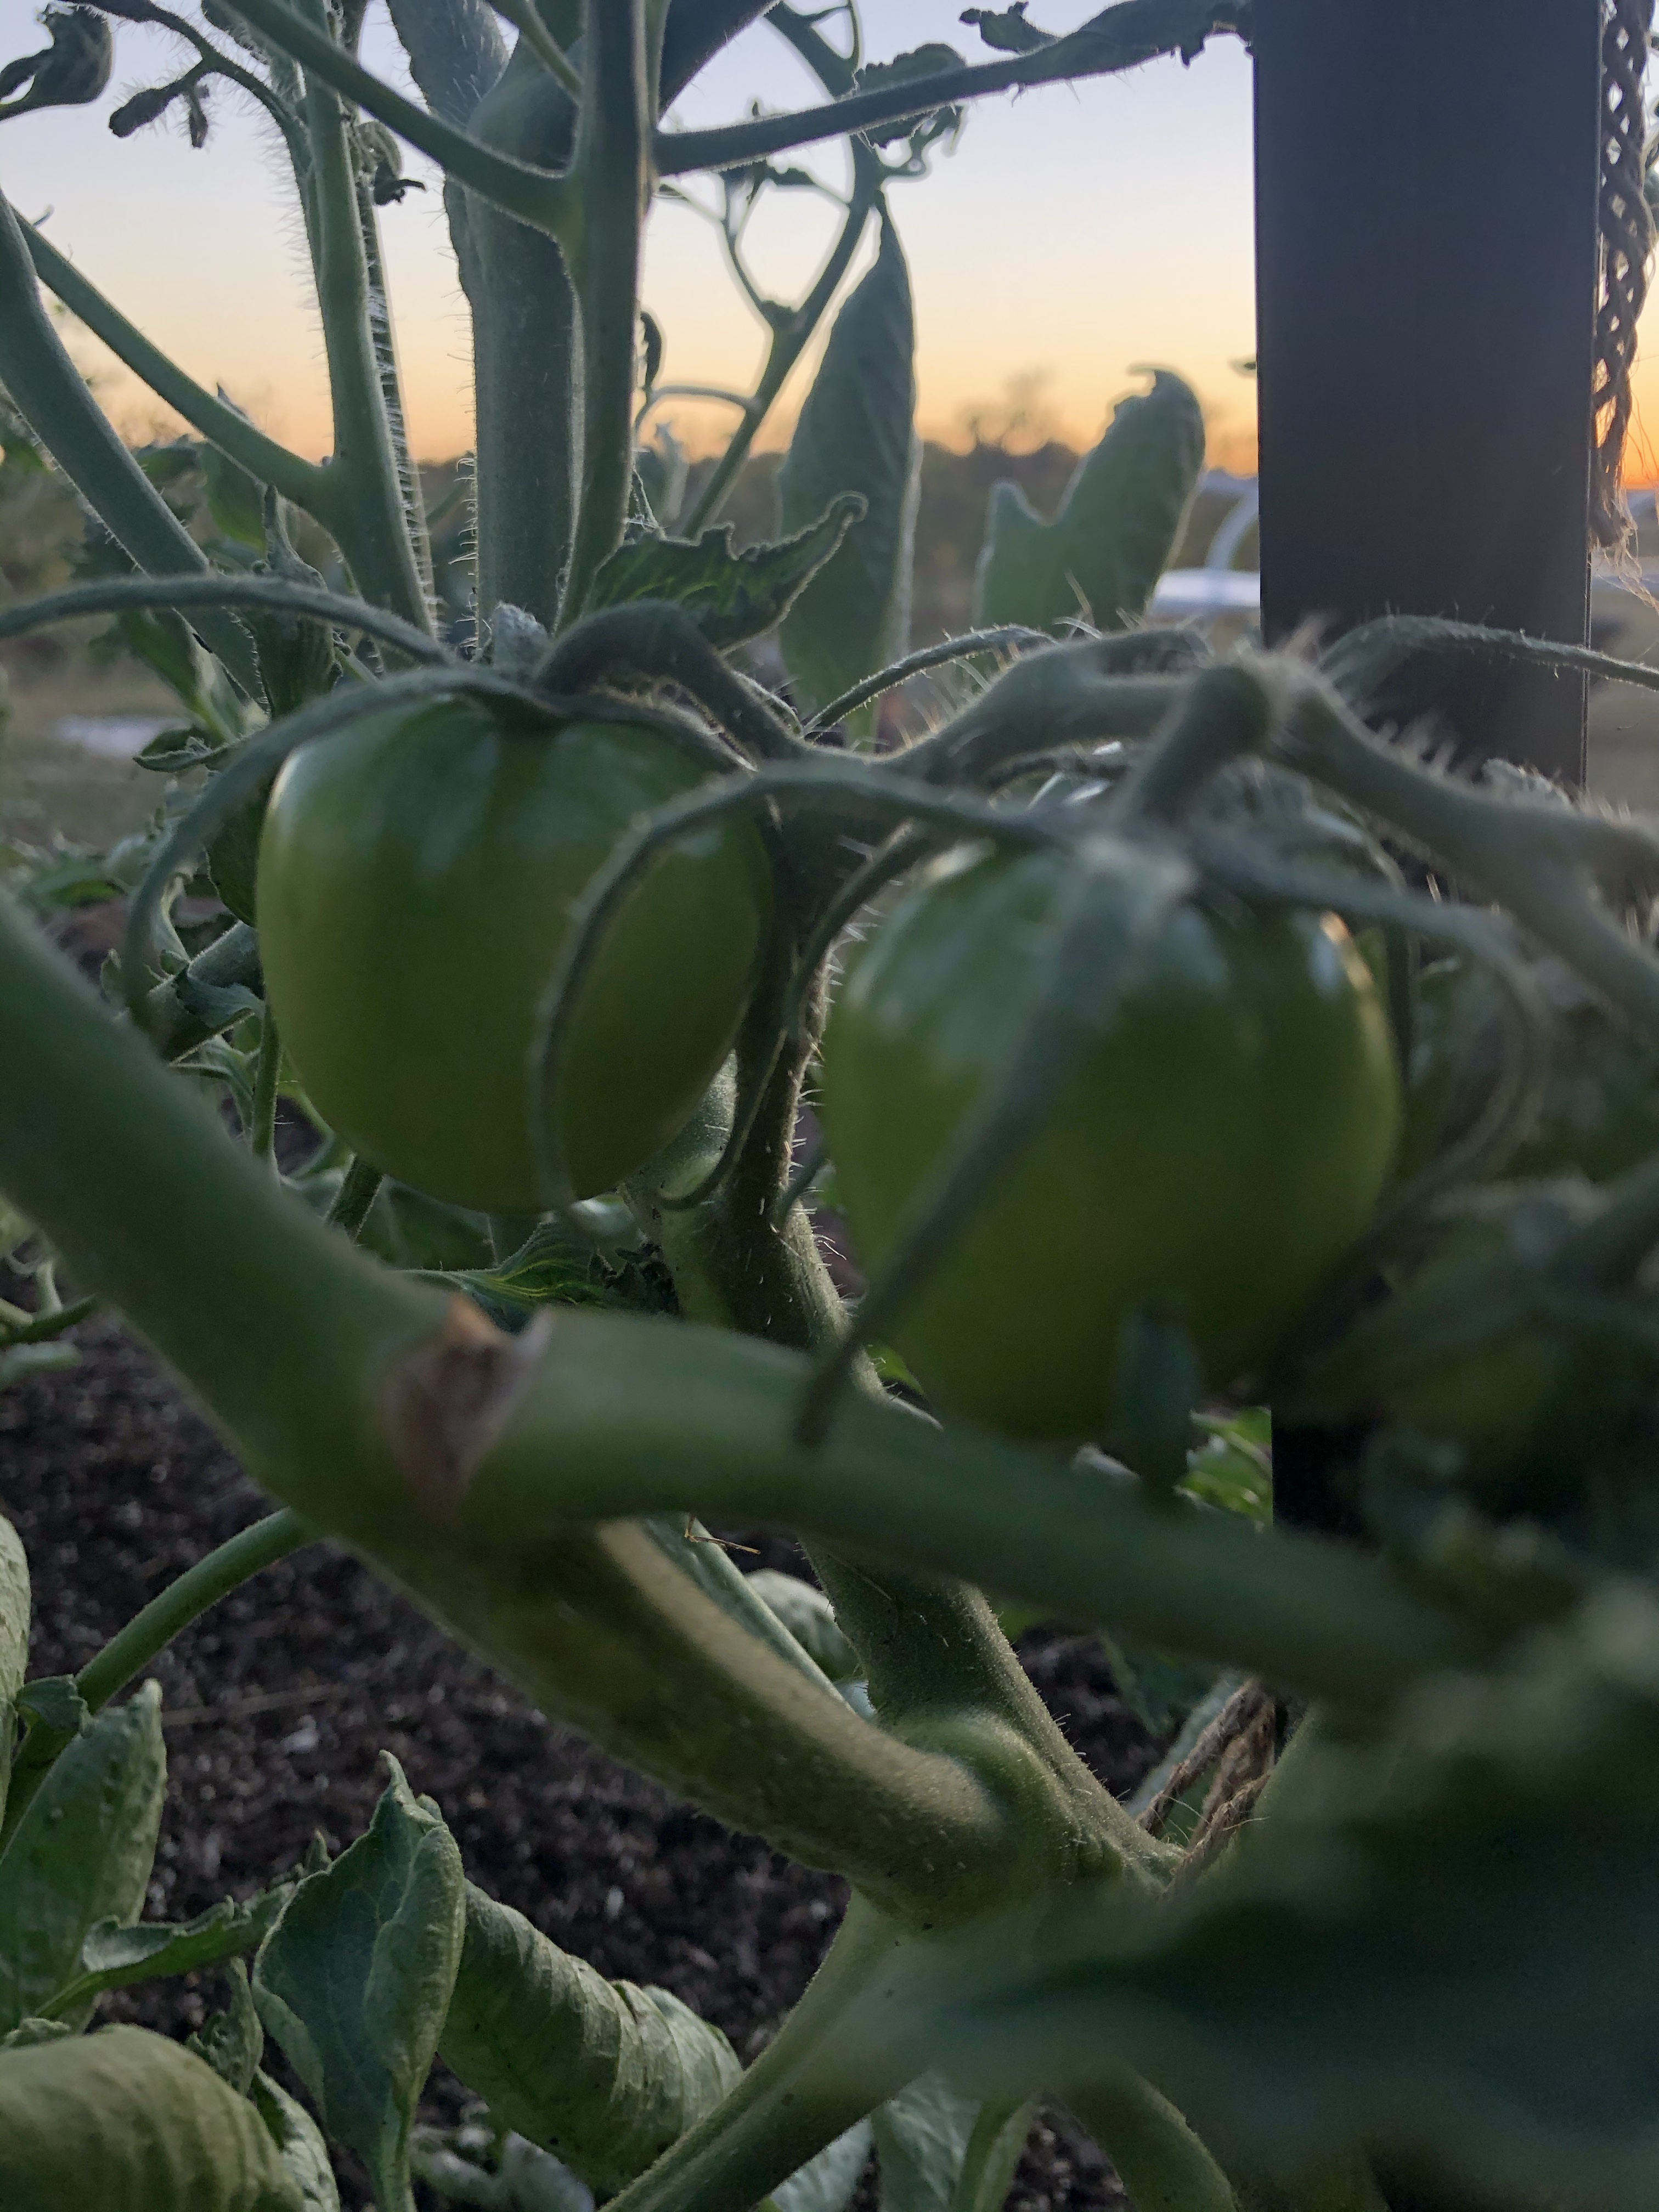
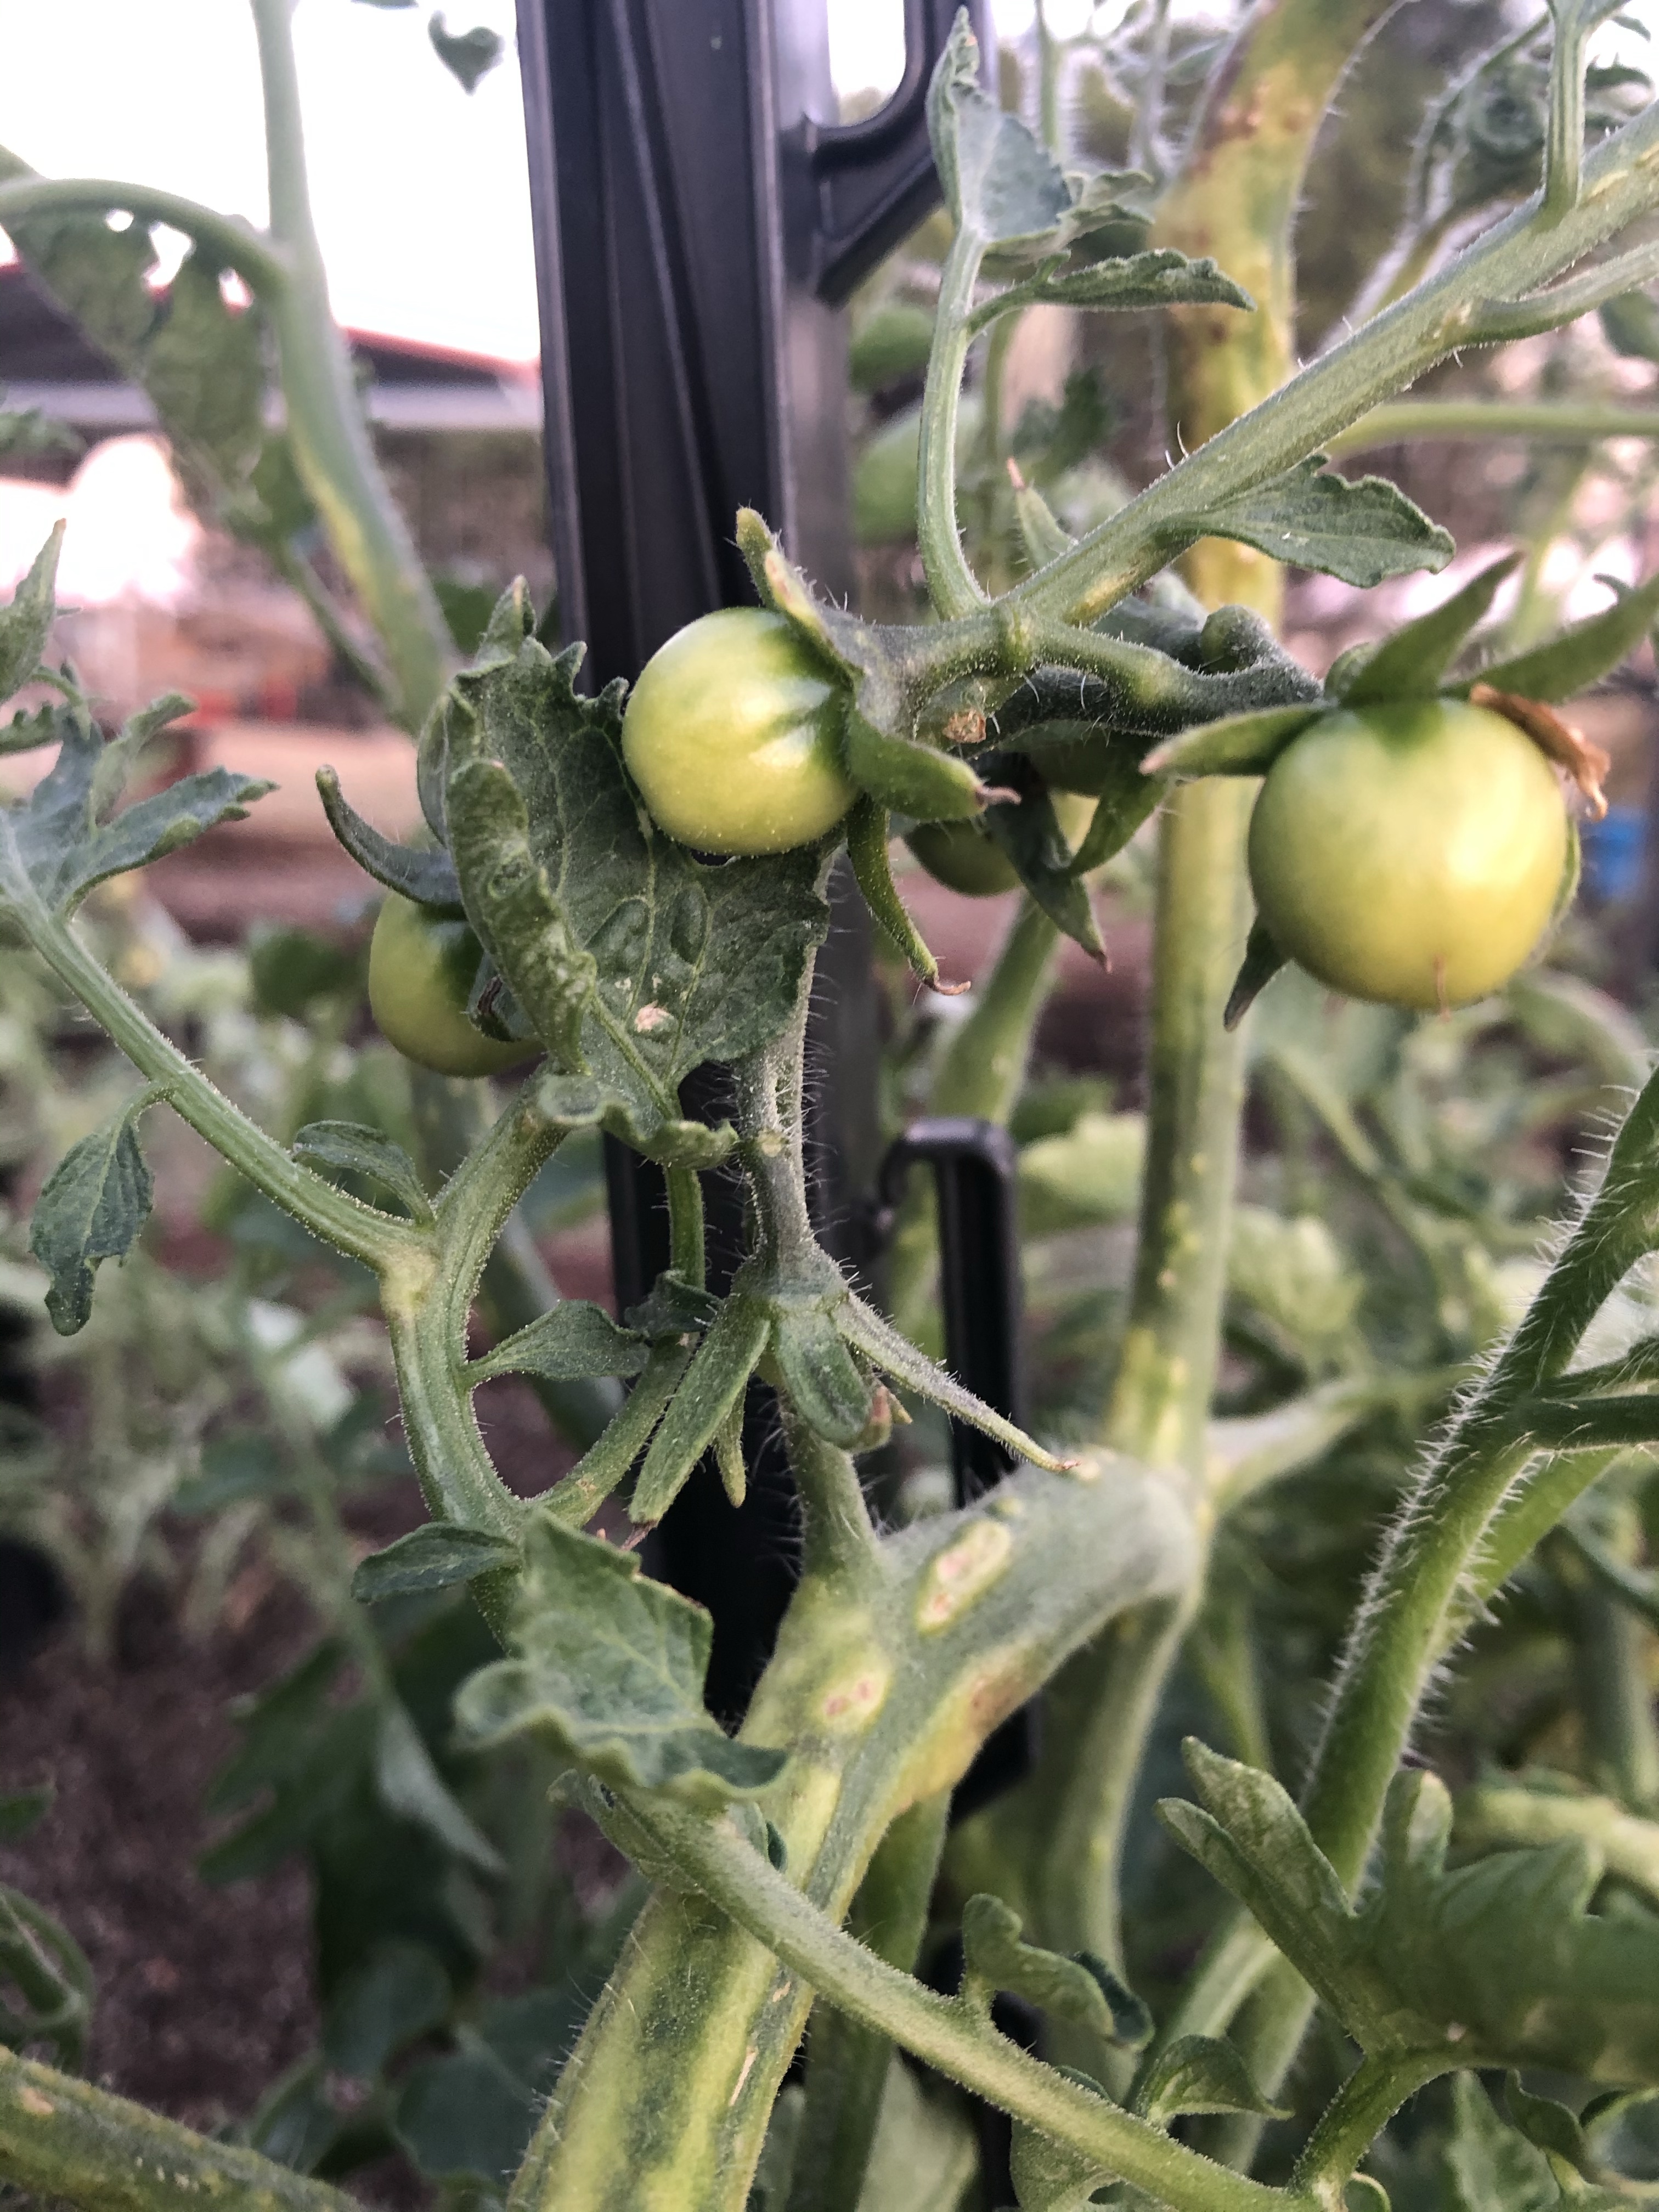
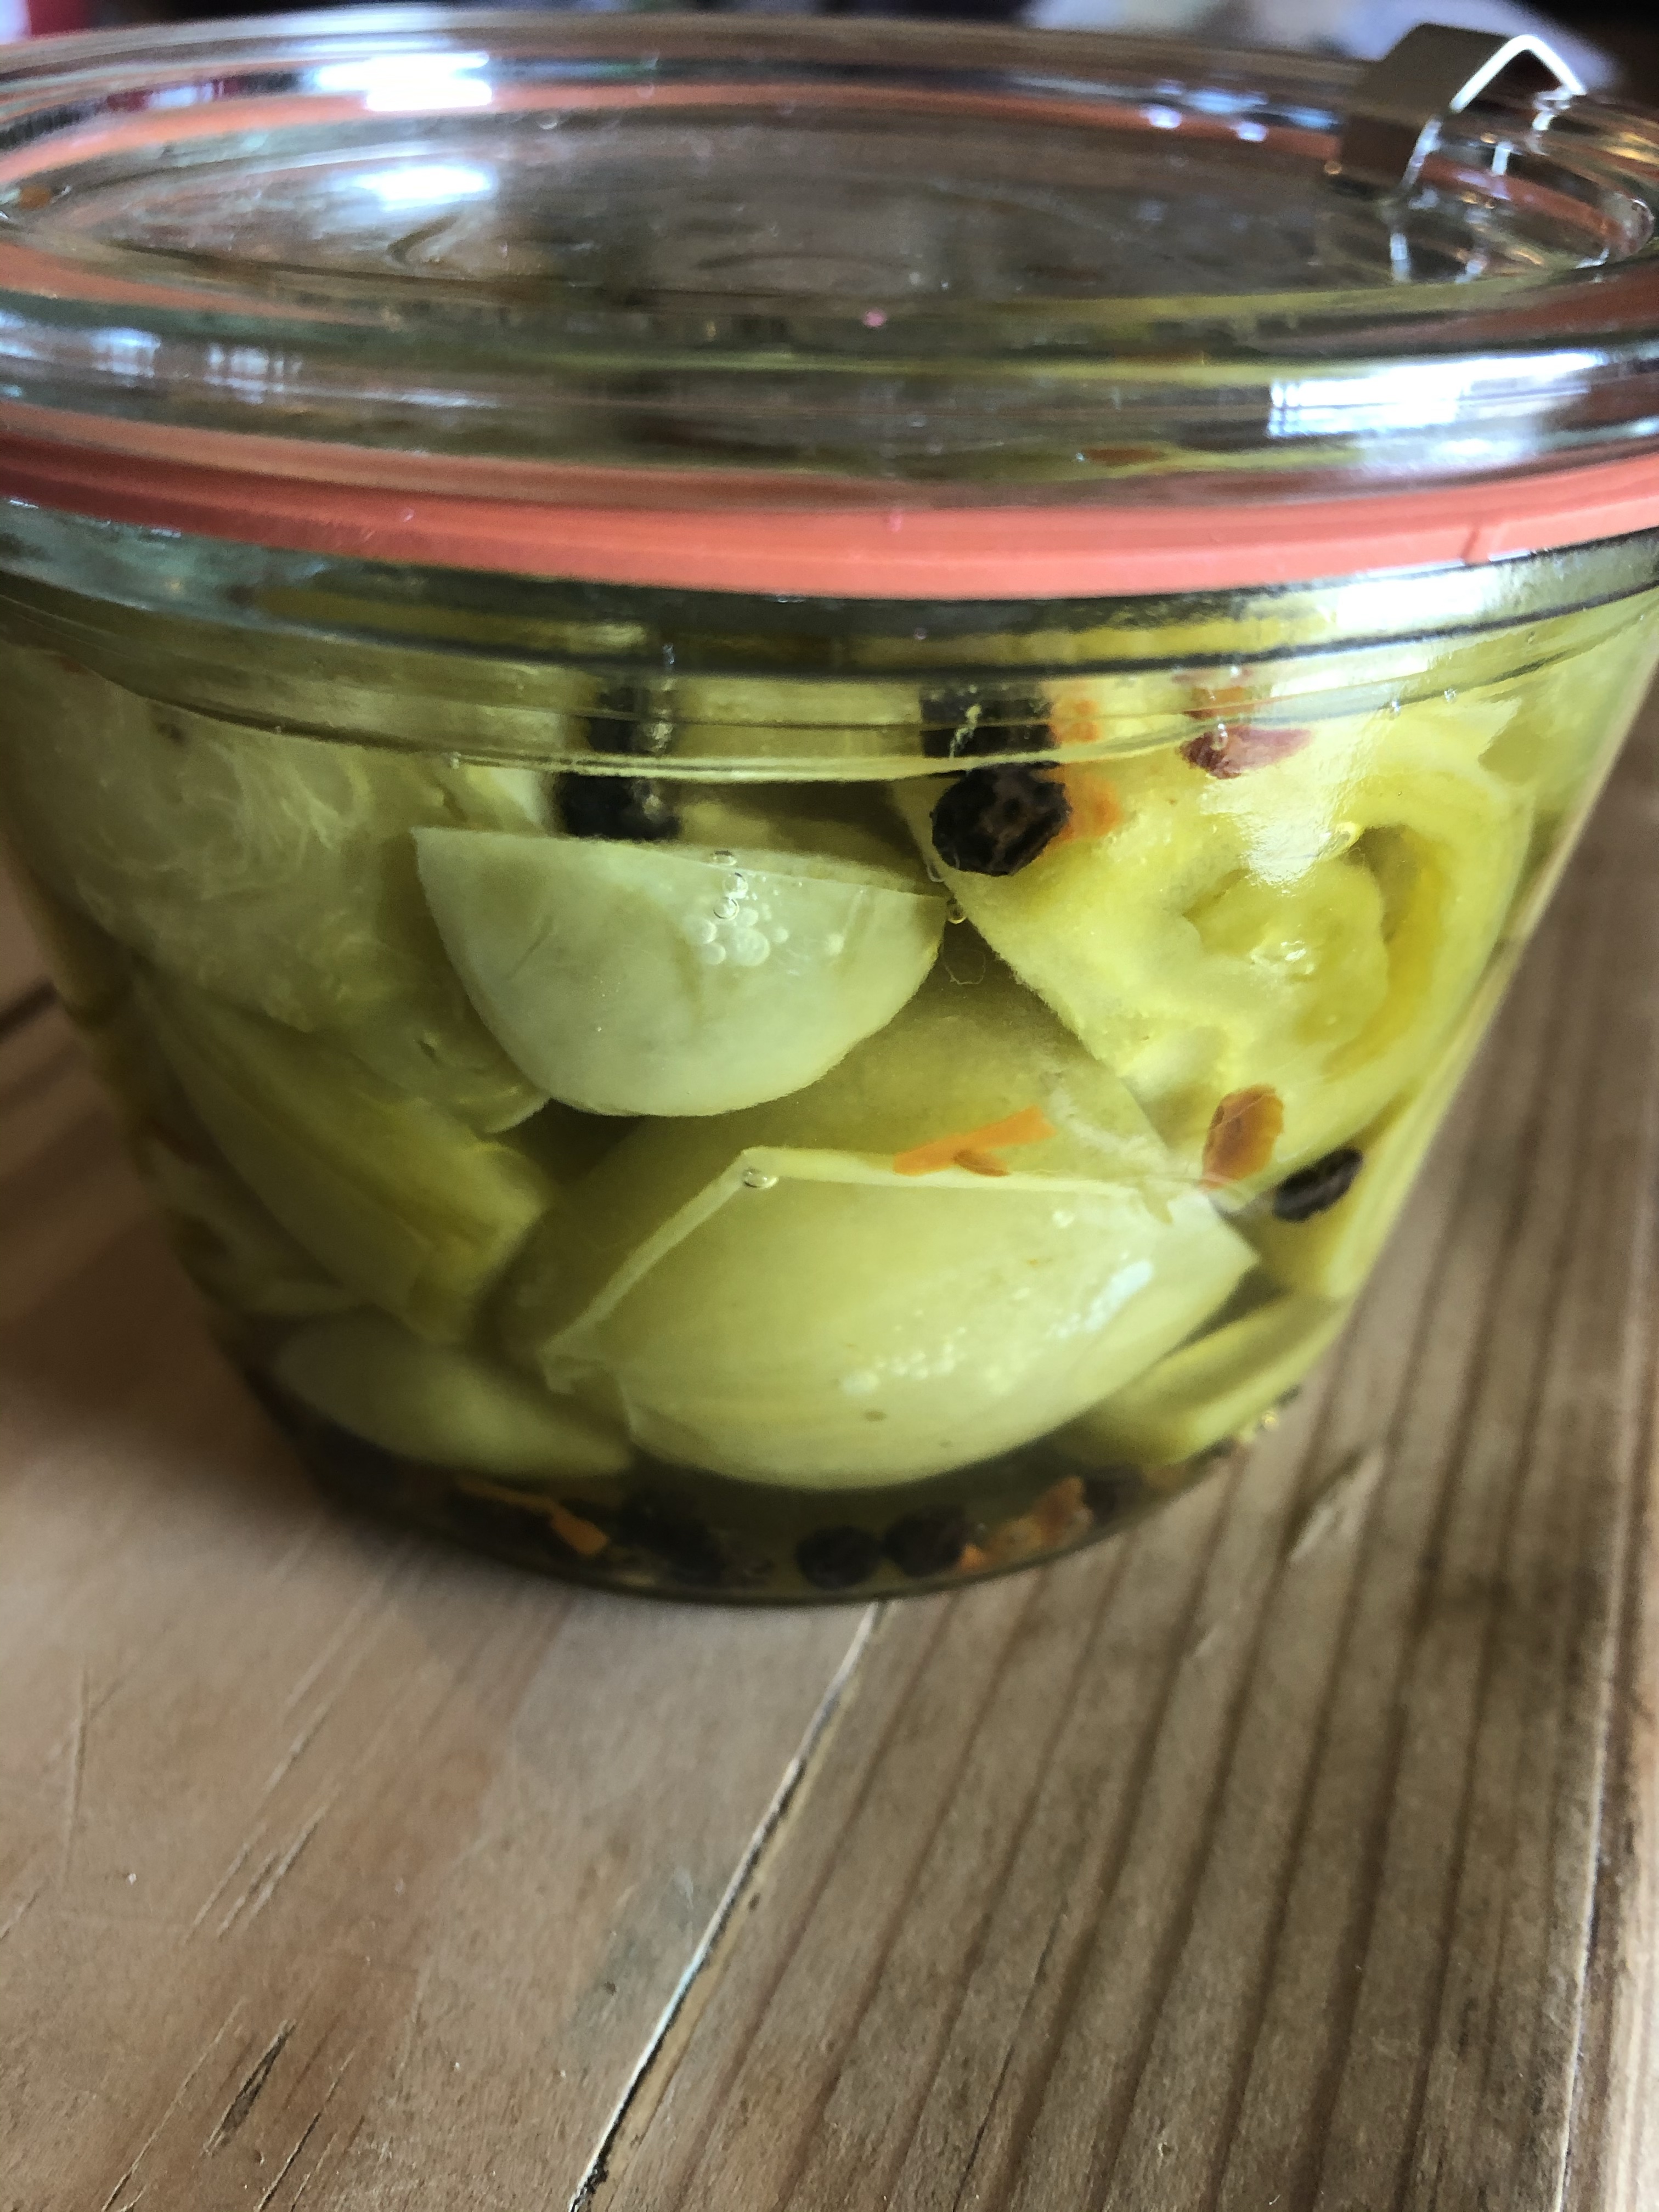
 I did get a fair amount of green tomatoes for pickling before our very early frost hit!

I still thought I had another couple of weeks! Again, Mother Nature had other plans! What she doesn’t know is this will go great with Texas BBQ!

The disappointment of a bad tomato crop is always filled with hopes for next year! Curly Top -1 / Chasity -0…….

I would love to hear your thoughts for combatting Curly Top for next year!

WTF!

WTF! What the Fertilizer! Anyone else suffering from Fertilizer Frustration? It boggles the mind with how many options there are in fertilization! There are so many options and recommendations for vegetable garden fertilization. There are so many myths and home remedies and “my grandpa did it this way” stories. With that being said, there is no one size fits all for every garden but it does help to have a good working knowledge of the  nutrients in fertilizers and what their purpose is in relation to plant growth and production.

If you have even just started to scratch the surface dirt of fertilizer research, you probably already know what those three little numbers on the bag or bottle represent. Respectively, they represent Nitrogen, Phosphorus and Potassium (sometimes called Potash). Theybare always listed in the same order. Hence, 10-10-10 would be equal parts of each and 10-20-10 would be double the phosphorus as nitrogen and potash.  Ok? Now what? If you were like me you have many questions regarding this: how much do vegetables need of each nutrient,  what does each of those nutrients do for the plant, how often do I use each type, when do I start fertilizing, and do I really need to fertilize? I don’t remember the “old timers” out there with their miracle grow specifically designed for tomatoes, peppers, roses, etc. After a little research I have some answers for these questions (ok! a lot of research)!

First remember, gardening mastery does not occur in one season. It is often trial and error. I’ve had many garden failures. Success depends on many factors some you can control and some you cannot. Factors include your soil type, weather trends, seed germination rates, animal and insect control, weed control, soil care or amendments, etc. . Soil testing is the most definitive way to amend soil for optimal soil health for the best plant growth. GET YOUR SOIL TESTED! Initially, it is probably best to have your soil tested every year until optimal health is reach consistently for two consecutive years and then  you could probably switch to every other year.

If you are like me, you keep putting off getting your soil test but need some guidance on how to feed your plants. Before we talk about when, where, and how much fertilizer , lets discuss the why! Why? because we want strong healthy and productive plants.  We all have to eat including the plants. Knowing what each nutrient does for the plant helps us determine what concentration/ratios that we want to use.  For the purpose of this post we will discuss the functions of nitrogen, phosphorus and potassium; however, there are many other important trace minerals and elements such as iron, zinc, sulfur (sometimes the 4th number on they bag or bottle) magnesium, etc. that plants use.

Now let’s get the down and dirty on these three key nutrients. Nitrogen is truly needed in some degree for ALL parts of the plant — the roots, leaves, stems, flowers and fruits. However, it is primarily responsible for the green part of the plant and is needed to form protein. It does this by enabling the plant to make chlorophyll. Nitrogen deficiency usually shows up as stunted growth or pale greenish yellowing leaves. Fertilizers with too much nitrogen combined with soils deficient in the other two main nutrients (phosphorus and potash) result in big green plants without flowers hence decreasing fruit production. Fertilizers with exact amounts of nitrogen, phosphorus and potassium such as 10-10-10 or 13-13-13 should be used on plants that are all green such as grass and corn but not on flowering plants such as tomatoes and squash. Ideal ratios for flowering plants should be 3-1-2 which include 6-2-4 and 9-3-6. Be cautious, way too much nitrogen can also kill your plants. You can always add more but you can’t take it away after you add too much. Fish emulsion and blood meal are good sources or organic nitrogen, 5-1-1 and 12-0-0, respectively.

Now you ask: well how do I get good flowering and fruit production? Its the phosphorus! Phosphorus is responsible for cell division to help root formation, flowering and produce fruit. Good sources of organic phosphorus are bone meal 1-11-0 and the very slow acting rock phosphate or colloidal rock phosphate. I really like Jobe’s organics for good flowering with a concentration of 2-7-4 which is not the recommended 3-1-2 ratio but I fertilize with higher nitrogen concentration initially for increased green growth and increased nitrogen needs during periods of rapid growth.

In my area (rocky Central Texas) I do not use bone meal because I suspect I already have high phosphorus because of the high prevalence of limestone in the soil. Moreover, I do not want to make my soil any more alkaloid than it is already. Bone meal will make your soil alkaline and blood meal makes it more acid. I need the acid.

If I still lived in East Texas I would use more bone meal since there is more pine and acid in the soil. Please check out my previous post titled “Love the Soil You Are In” for further information on soil types.

Finally, Potassium (Potash) keeps your plant healthy by protecting from disease and facilitating micro-nutrient absorption. Potassium is also important in root development and helps with photosynthesis. Luckily, potassium and other micro-nutrients are likely already present in your soil. So it doesn’t need to be replenish at the same rate as nitrogen and phosphorus per se. A slight excess in potassium is not harmful to your plants. So, if you are concerned you may have low potassium (really you shouldn’t be if you haven’t had your soil tested [stating that] —it is unlikely), wood ash and glauconite rock are good organic sources of potassium if needed. Again, soil testing is the best way to know exactly what your soil needs and eliminates the need for speculation.

First question, when do I start fertilizing my soil? Ideally, you should be putting out organic matter in late winter given its slow release into the soil. Examples or organic matter for your garden should include things like manure or compost. This is especially important for areas where you will be putting your heavy feeders such as tomatoes, broccoli, brussel sprouts, cabbage, cantalope, etc. Remember, the heavier the harvest should equal the heavier the feeding the following year or growing cycle. If you are starting seeds indoors, you will need to start with a mild fertilizer once you have true leaves. The cotyledons (first leaves) have enough nutrients to support them until true leaves develop.

I like to try and stick with organic fertilizers (disclaimer I am not afraid to throw a chemical fertilizer on my plants {not seedlings} if they need a quick boost because they are looking tired and hungry).  Initially, I like to start my seedlings with fish emulsions diluted to half strength. I like this because it is mild, organic and I can dilute down easily. It is 5 times higher in nitrogen than phosphorus or potassium. I am trying to encourage green growth initially not necessarily flowering and disease resistance because they are young and protected in a nutrient rich potting soil at this time. I want them to be green and strong.

Then before I transplant or start seedlings in ground I pre-treat my my soil with blood meal to add nitrogen again until my plants are bigger and ready to start flowering. In the off season we also dump our horse manure in the garden. This year we also added some turkey manure and mushroom compost we bought. In addition to a small composting corner we use for kitchen scraps. This is a little tomato seedling that came up after we spread the compost!

Once they get bigger and more green, (approximately 4 weeks later) I use Jobe’s organics for things that will be flowering such as tomatoes, peppers, eggplants and squash. This is because it has a higher concentration of phosphorus. Things like corn, cabbage, and asparagus I would use equal parts of NPK+ to promote green growth. If the plant has really been struggling with growth I will also use my trusty old miracle grow I mix up in my watering can. I do this because it is quickly used by the plant. The new asparagus loved it!

For me it is easier to think about what the plant needs during its life cycle and what my goals are (green growth, flowering, disease resistance, nutrient absorption) in relationship to fertilizers versus memorizing multiple different numbers and concentrations. If I want green growth I need nitrogen, if I want flowers, I need phosphorus, and if I am worried about my plant absorbing nutrients and disease fighting ability I will throw a little potassium at it. Remember to read labels and follow recommendations for application procedures and types i.e. side dress, band/row application, broadcast, starter solution, etc. and most importantly the recommended about. You don’t want to over do fertilizer!

If this year’s soil doesn’t agree with your plants make the changes you need and look forward to the next season.

~Chas

Raise Them Right!

The garden beds that is!

We spent February preparing our gardens for spring. The weather has finally been so nice to get outside and get your hands dirty!

We have added some new raised beds thanks to some old salvaged tires and broken feed trough my husband found and placed in the garden. Raised beds allow me to amend soil quickly for growing and contain crops that may spread like mint or asparagus. I also think they are cute! In total, we added four raised tractor tire beds and one old feed trough (that sprung a leak!) bed!

Both setups had to be slightly modified before use. For the tires, Bryon cut the top rim of the tire off so we could fill up with dirt/ soil and work it. Otherwise the lip of the tire would cover a good portion of opening and would limit growing capacity. In addition, I have short arms and I don’t want to reach that far! He had to use a 4″ grinder to make a hole in the top of the tire rim and then a sawzall to cut the rim off. The top we removed I will use later to go around the base of sapling for the soon-to-be peach & plum orchards. For the old trough, he used the 4″ grinder to simply cut out the bottom. We did counter sink the trough purely for aesthetic purposes!

Now to the down and dirty- filling all these up with soil! First, we placed cardboard in the bottom for worm food and some weed control. Next we need soil. You can’t just add dirt because it will get too hard and hold too much water. You can’t add straight potting mix because it’s too light and will drain too fast. I prefer miracle gro raised bed soil. 
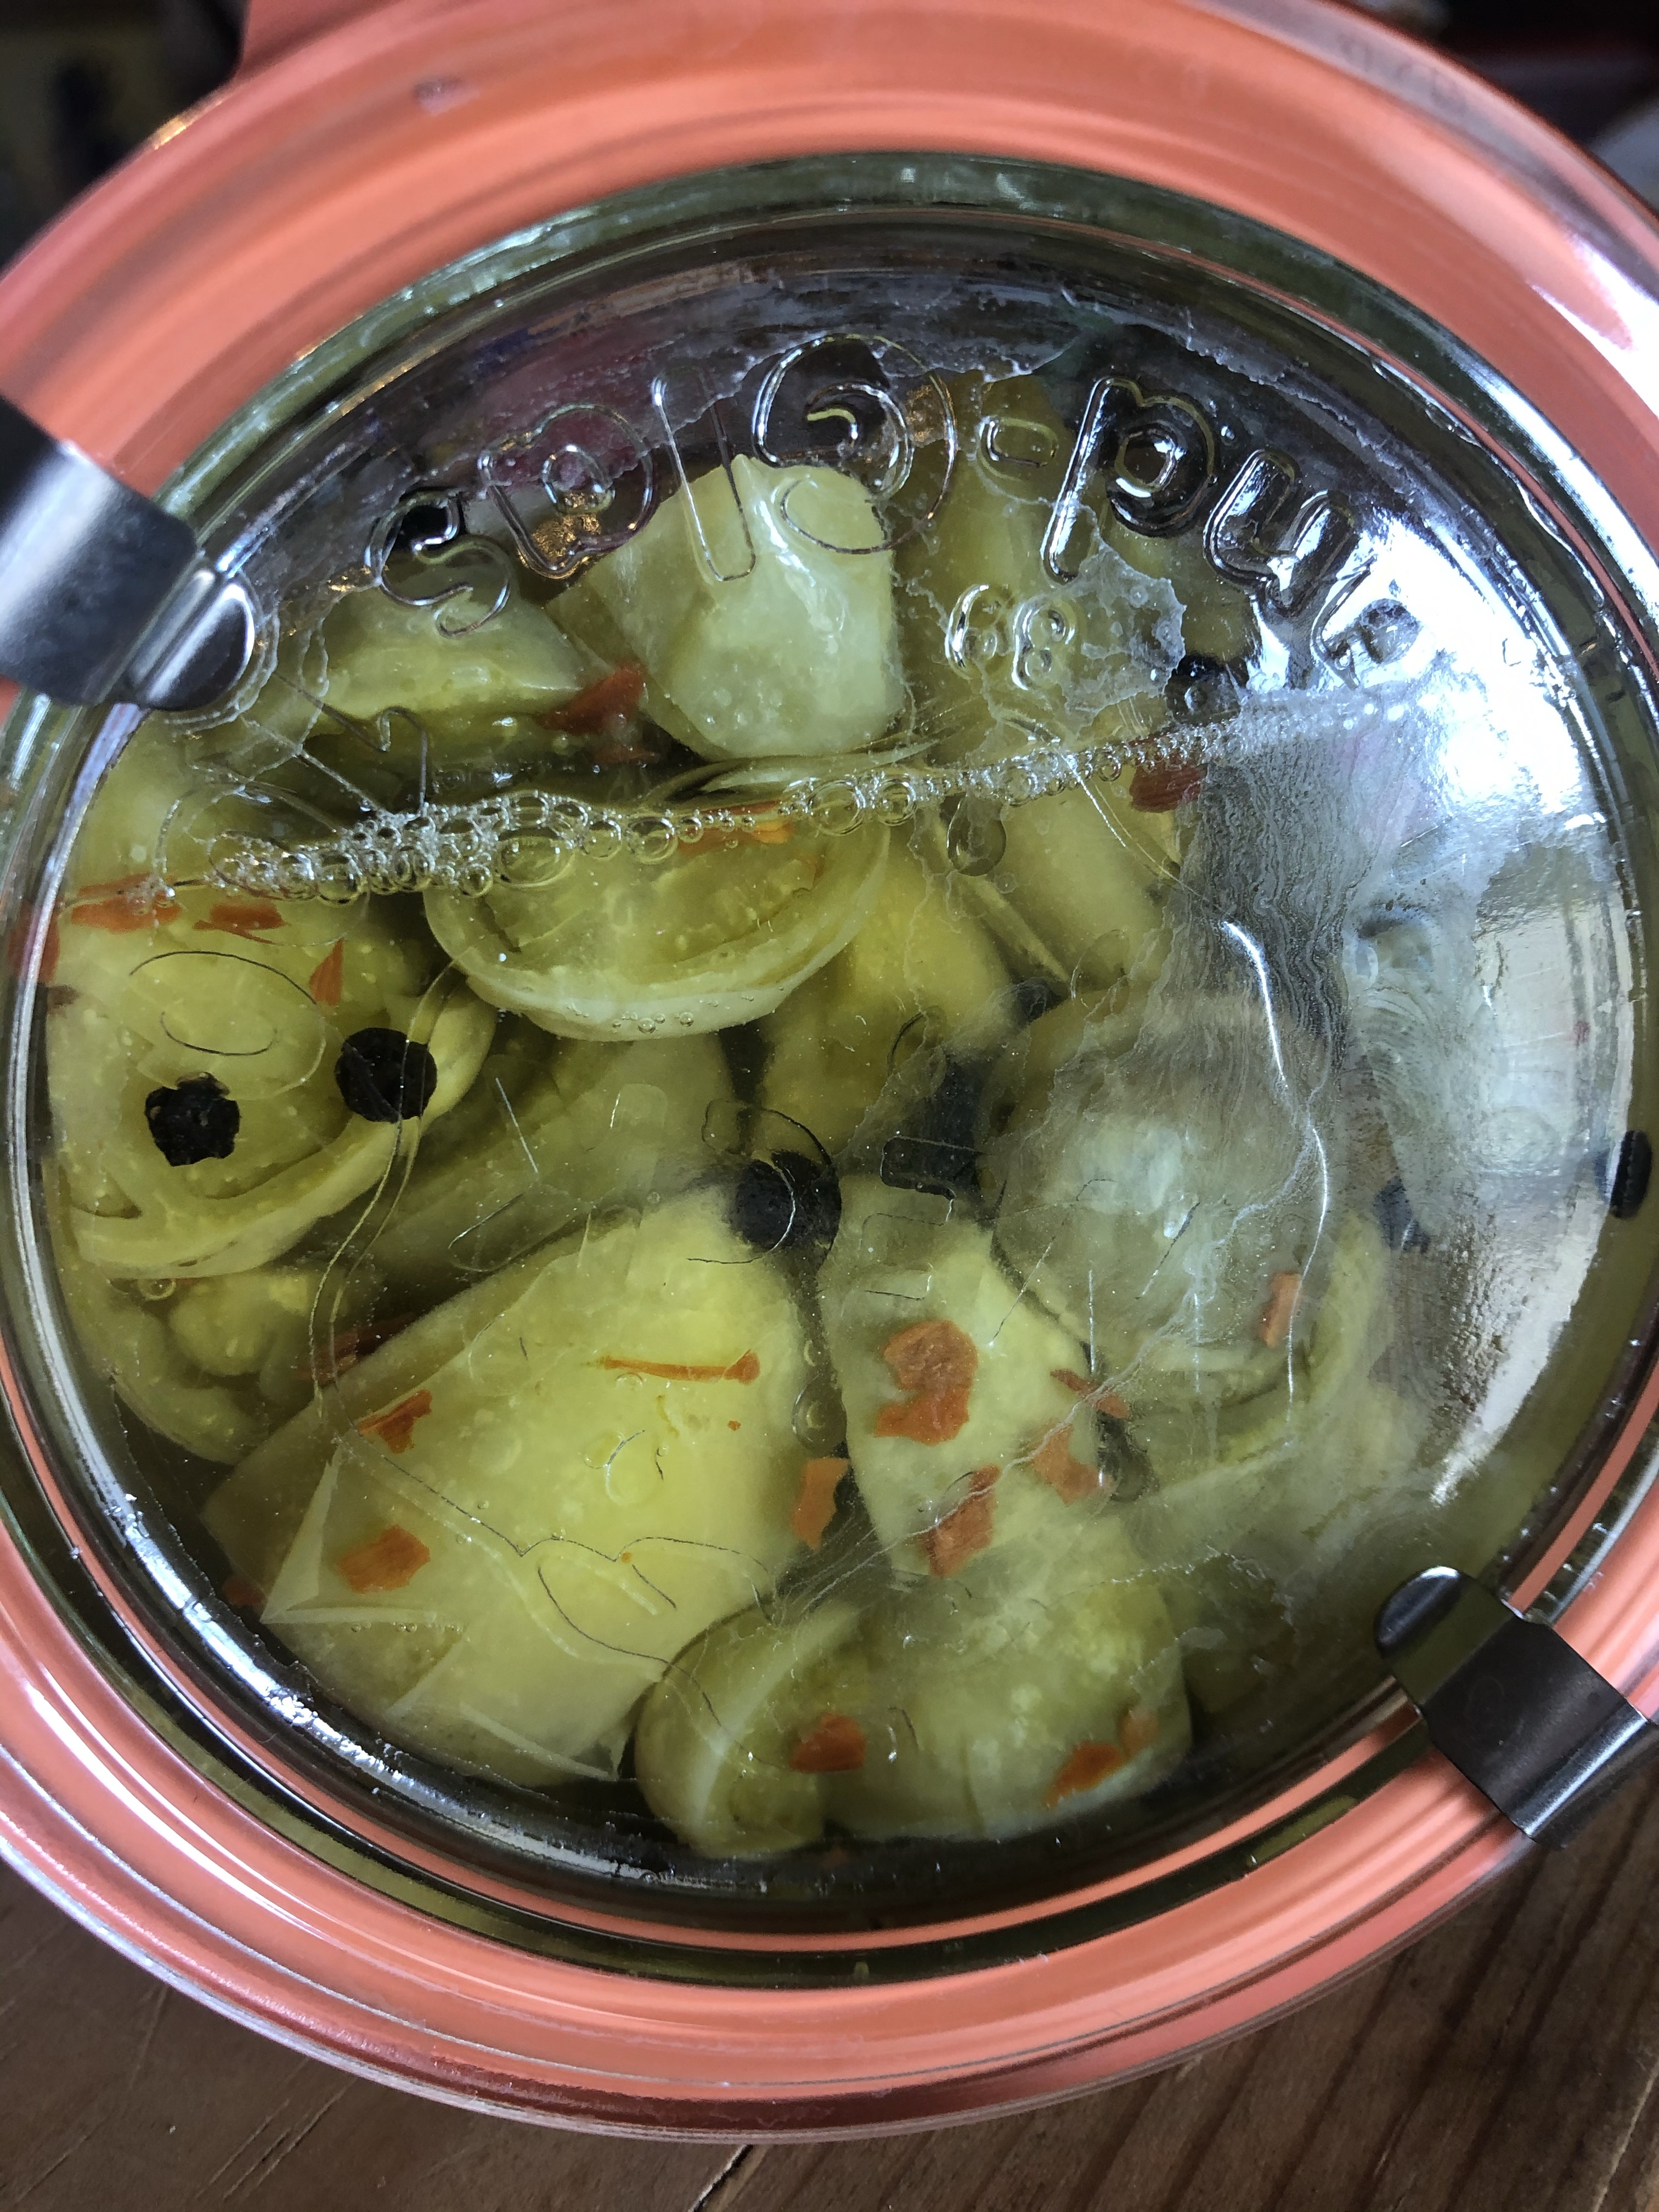
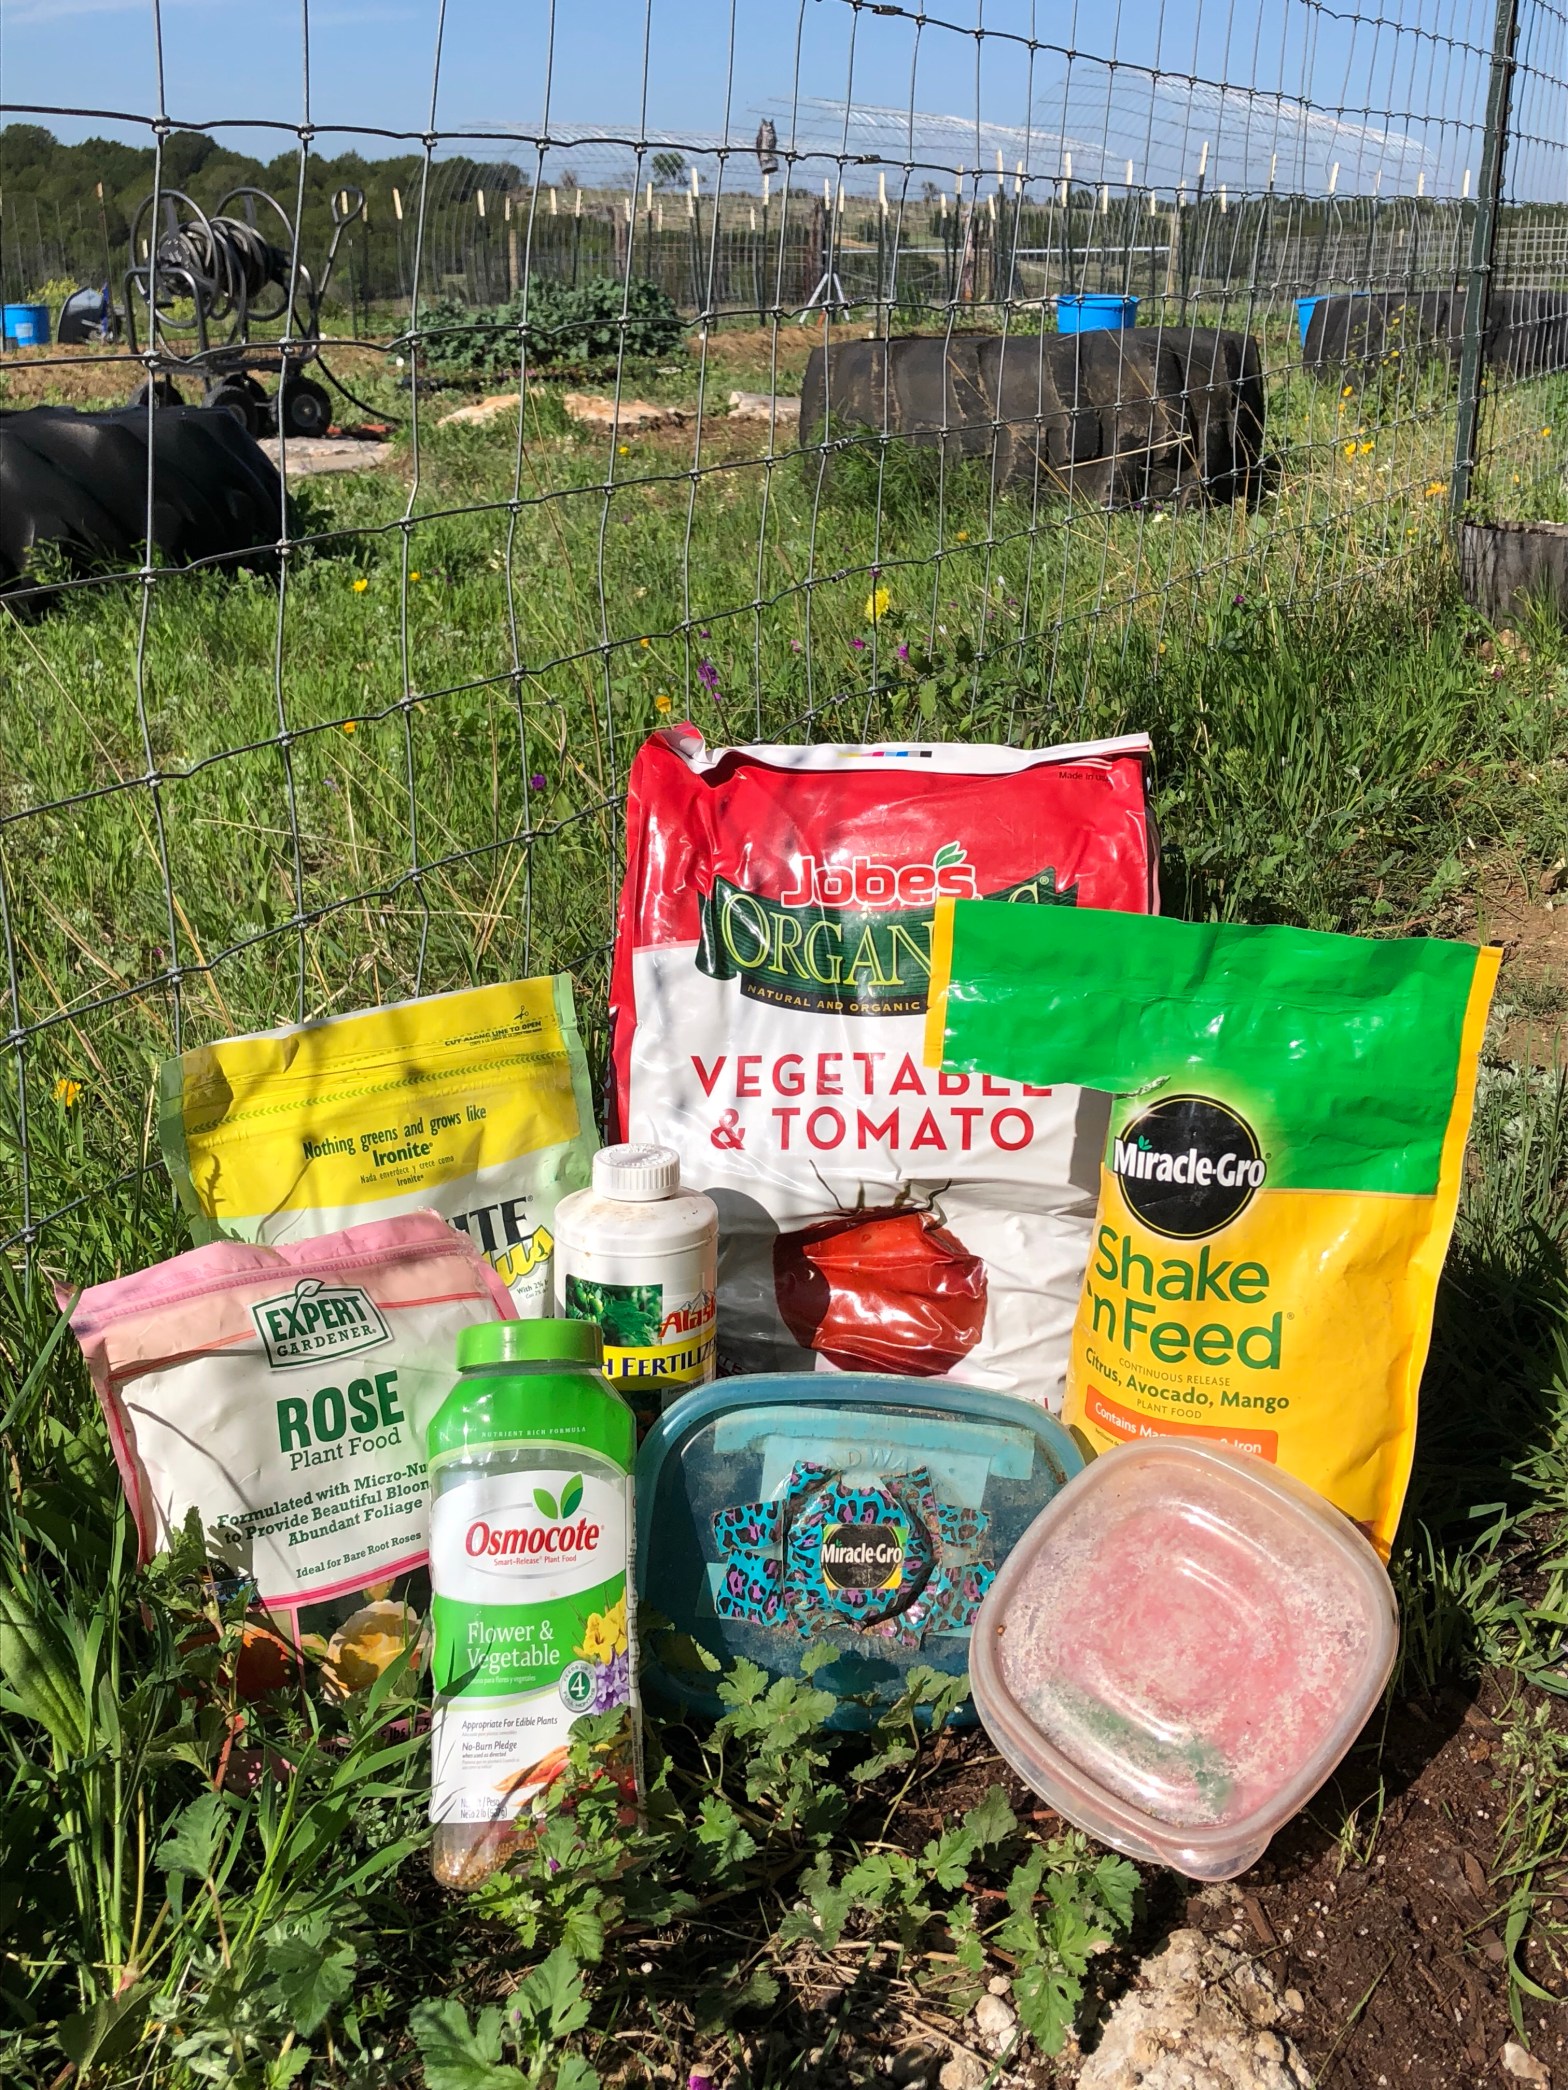
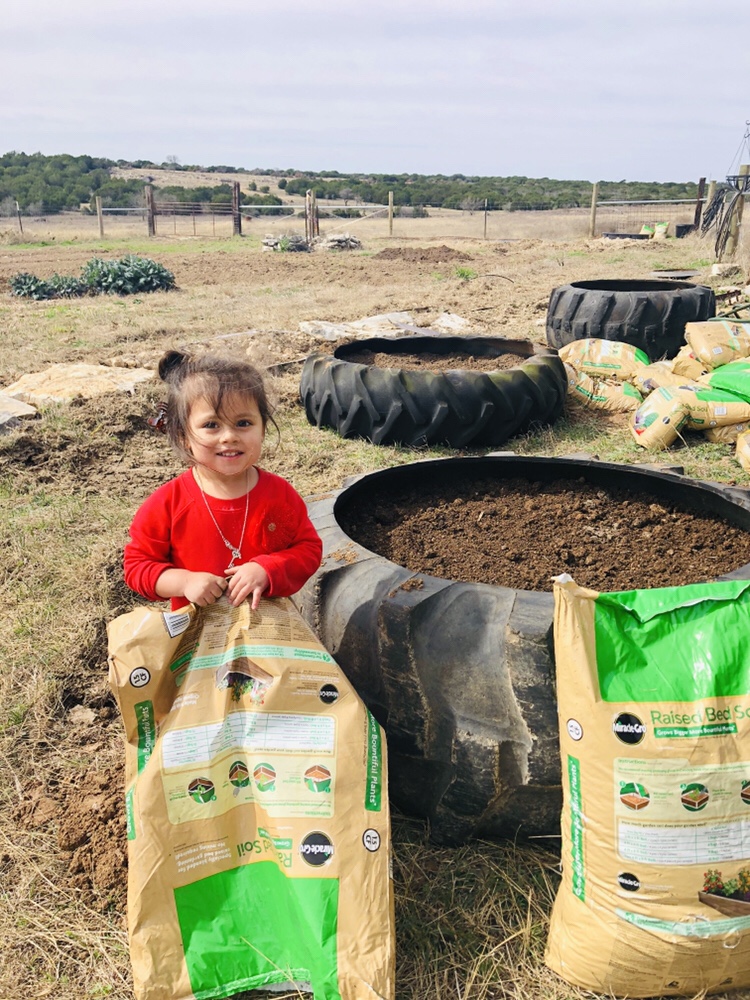
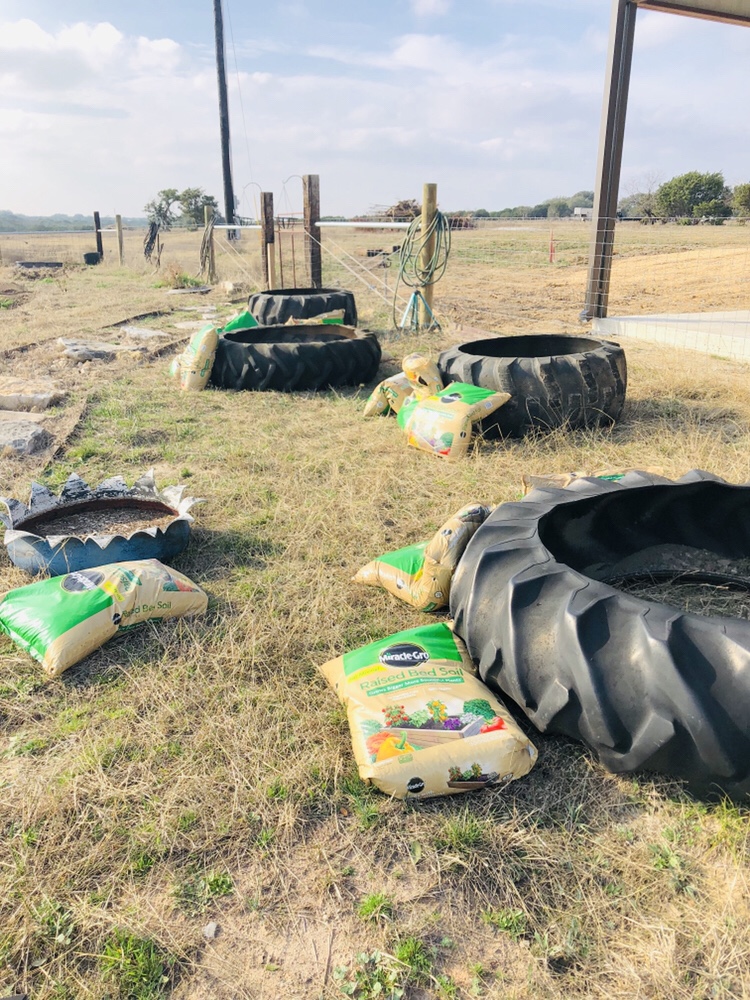
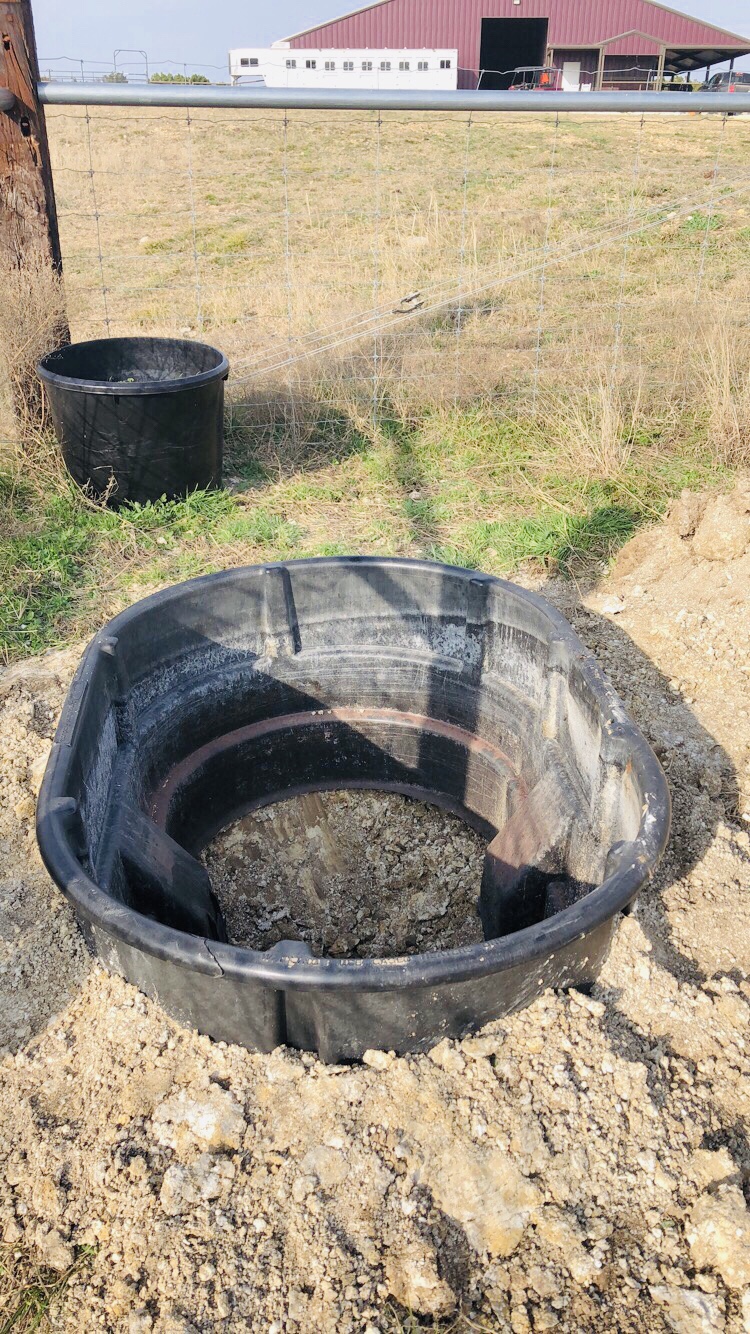
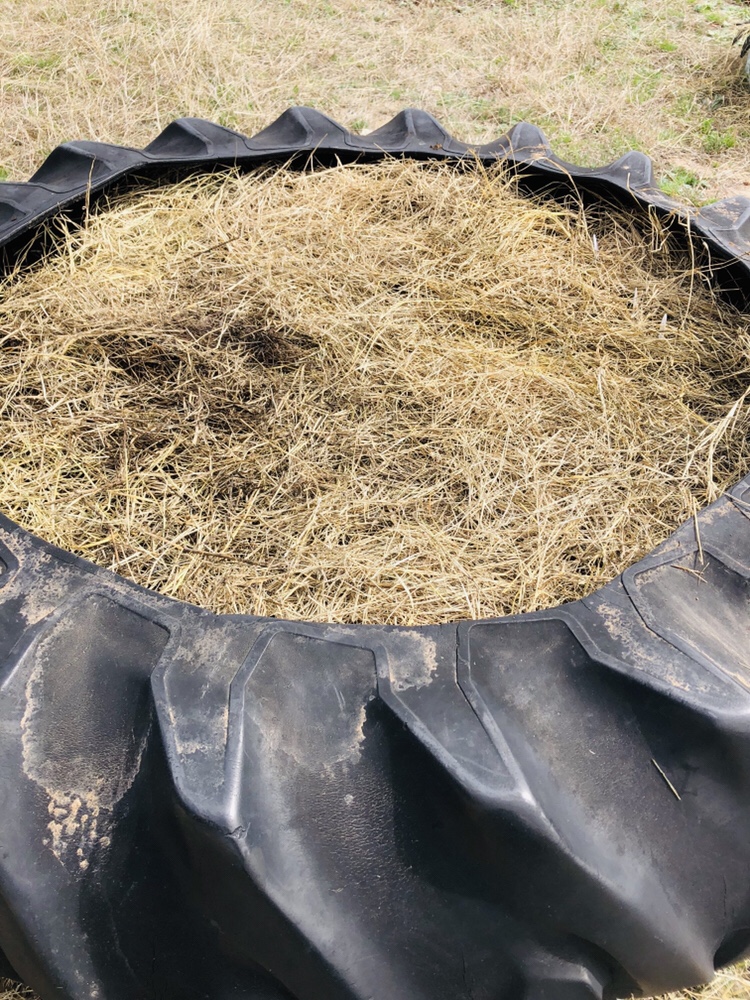
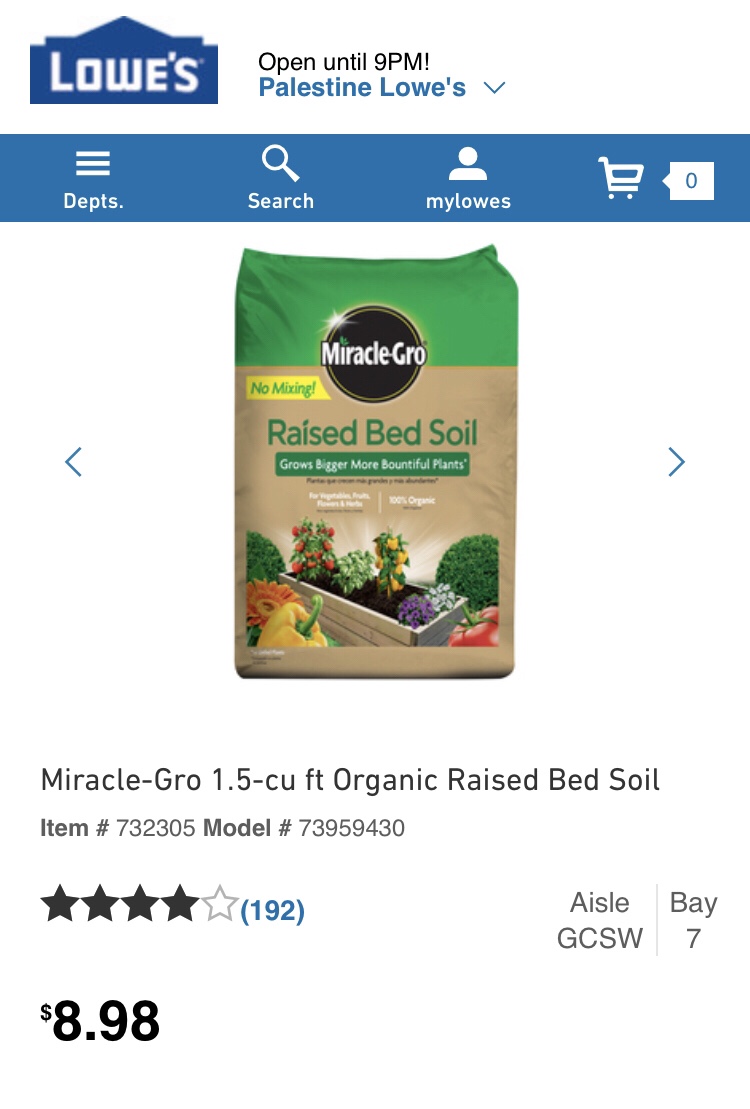
I got burned two years ago with an off brand alternative so I haven’t really ventured out much with other options. I’ve been sticking to what I know works. Originally, I wanted to completely fill each one with bagged soil but that wasn’t feasible. I didn’t realize how much dirt was required for each tire until I did the math.

For all you math/ algebra students that ask “when am I going to use this in real life?”

The volume of a cylinder is pi (3.14) x radius (squared) x height.

One tire measured 4 ft diameter (2 ft radius) x 2 ft height so…..

3.14 x 4ft x 2ft = 25.1 cubic feet

As seen above each bag covers 1.5 cubic feet for $8.98. (25.1 / 1.5 = 16.7 bags for one tire x $8.98 per bag = $149.96)

Now I have 4 tires and one trough so we are talking about $800 dollars of dirt ! WOW! Nope!

Luckily, Bryon found us a cheaper option!

For $140 dollars he got a dump bed trailer load of half top soil and half turkey manure and mushroom compost mix! BAM! With some to spare!

So we layered the raised beds with a layer of topsoil then turkey manure/ mushroom compost then the last layer was of my raised bed garden mix. I used two bags of the miracle gro to each tire and the trough. Now filling them up was a little “tire-ing” but we got them all filled! Now for the fun stuff! Planting!!

We planted a few cool weather crops!

Side note: we never use up the plastic knives in the set so I repurpose them in the garden!

Lastly, we used old hay to mulch the top!

Now we just wait for stuff to grow! Can’t wait to eat and share all our goodies !!